Admin Feature
This feature requires the account owner (or admin) to grant CRM Admin Permissions. If you don't see this option, contact your account owner to enable it for you.
The Customize settings in your Real Geeks CRM allow you to tailor how leads are organized, prioritized, and distributed across your team. Instead of relying only on default settings, you can create custom lead sources, statuses, urgency levels, and assignment rules that match your workflow.
By customizing these fields, you gain clearer insight into where your leads come from, where they are in your pipeline, and how they should be routed to the right agents. This makes your CRM easier to manage and helps your team follow up with leads more efficiently.
Need to Know
-
Customize settings allow you to create your own lead sources, statuses, urgencies, and tags
-
These settings help organize your CRM and improve lead management
-
Custom sources can be used to route leads into Round Robins or Lead Ponds
-
Round Robins distribute leads automatically among agents
-
Lead Ponds allow agents to claim unassigned leads from a shared pool
Table of Contents
How to Access Customize Settings
You can manage your CRM customization options from the Customize section of your CRM settings.
To access these settings:
-
In the CRM Navigation, click Settings
-
Select Customize
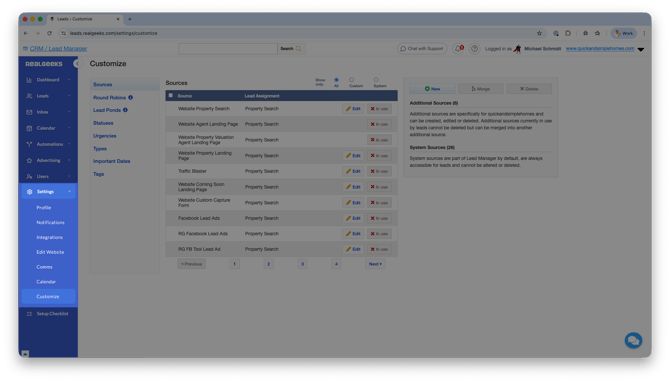
From this page, you can create, edit, or remove the various fields used to organize and distribute leads in your CRM.
What You Can Customize
The Customize section allows you to control several fields that help categorize leads and manage how they move through your pipeline.
These customization options include:
Each field serves a different purpose in helping you organize your database and manage your team.
Customization Edit Options
The Customize page allows you to manage your CRM options so they stay organized and aligned with your team’s workflow. You can add new items, merge duplicate options, or remove items that are no longer needed.
Keeping these fields clean and consistent helps your team filter leads more easily and maintain a clear, reliable database.
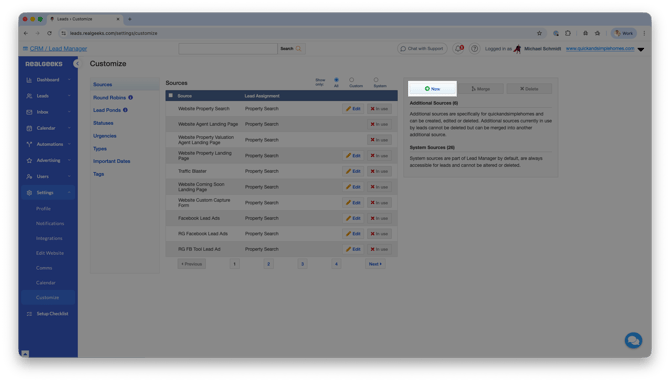
Create a New Custom Item
To add a new option to your CRM:
-
Click New
-
Enter the name of the item you want to create
-
Save the item so it becomes available for use
This allows you to create custom Sources, Statuses, Tags, or other identifiers that better match how your business tracks leads.
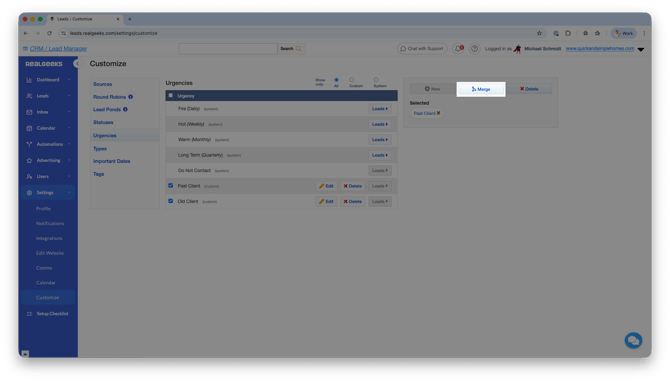
Merge Custom Options
If duplicate or similar items exist, you can combine them using the merge tool.
-
Select the two options you want to merge
-
Click Merge
-
Choose which option should remain as the primary item
All associated data will be consolidated under the primary option. For example, if "Tag A" and "Tag B" are merged, both will become a single tag under the selected primary label.
Delete Custom Options
You can remove unused custom options from your CRM.
-
Select the item you want to remove
-
Click Delete
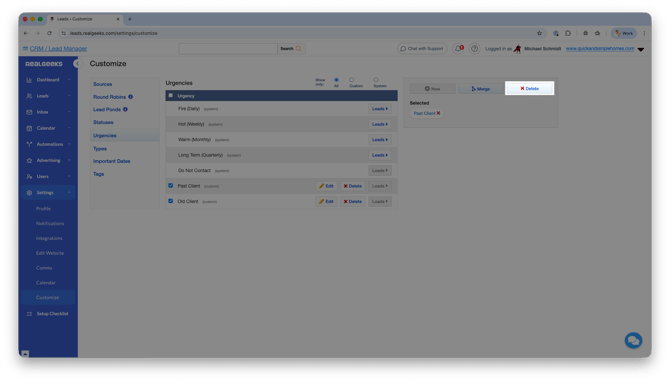
Use caution when deleting options, as removing them may affect existing lead records that currently use that label.
System default options cannot be permanently deleted. They can only be disabled.
Disable System Settings
The Customize page also allows you to disable certain system defaults such as:
-
Statuses
-
Urgencies
-
Types
-
Important Dates
To disable a system setting, toggle the switch on the right from Enabled to Disabled. Once disabled, you can replace the default options with custom ones that better reflect your team’s processes.
Sources
A Source identifies where a lead came from. Creating custom sources allows you to track your marketing efforts and understand which channels generate the most leads.
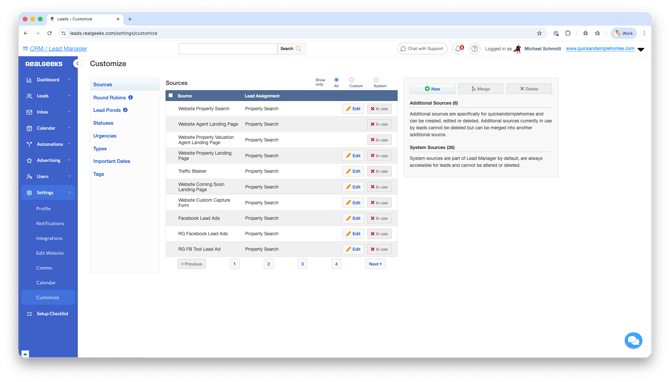
Examples of sources include:
-
Website Property Search
-
RG Google
-
Agent COI (Circle of Influence)
-
Zillow
Custom sources can also be used to trigger automation such as workflows or lead assignment rules.
For example, you can assign all leads from a specific source to a particular Round Robin or Lead Pond.
Round Robins
A Round Robin is an automated lead assignment system that distributes incoming leads evenly across a group of agents.
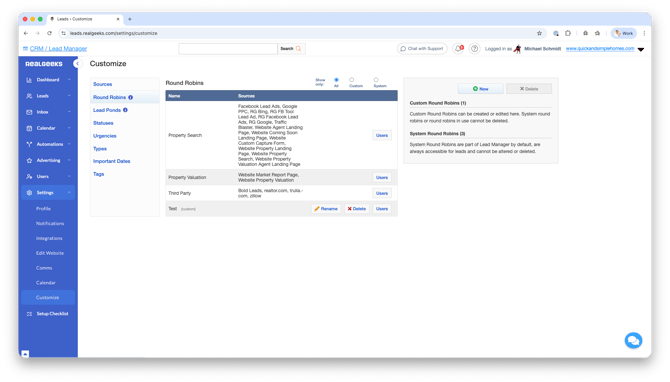
When a new lead enters the CRM, the Round Robin rotates assignments so each agent receives leads in turn.
Round Robins are useful when:
-
Multiple agents are responsible for handling new leads
-
You want to distribute leads fairly
-
You want to automatically route leads without manual assignment
You can also configure specific sources to feed directly into a Round Robin so only certain leads are distributed to that group of agents.
Lead Ponds
Lead Ponds are shared pools of leads that agents can access and claim.

Instead of assigning leads automatically, leads enter the pond where eligible agents can grab them manually.
Lead Ponds work well when:
-
You want agents to claim opportunities themselves
-
You have overflow leads that need attention
-
You want to encourage team collaboration
Agents with access to the pond can view available leads and claim them when they are ready to follow up.
Statuses
Statuses indicate where a lead currently sits in your sales pipeline.
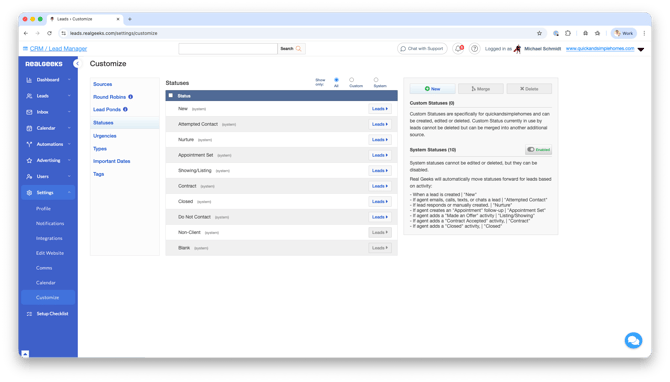
Custom statuses help your team track progress and understand the stage of each lead relationship.
Examples of statuses include:
-
New
-
Attempted Contact
-
Nurture
-
Appointment Set
-
Showing or Listing
-
Under Contract
-
Closed
Keeping statuses updated helps ensure leads receive the appropriate follow up and no opportunities fall through the cracks.
Urgency Levels
Urgency labels help your team prioritize which leads need attention first.

These labels indicate how frequently a lead should be contacted.
Common urgency examples include:
-
Fire
-
Hot
-
Warm
-
Long Term
By organizing leads by urgency, agents can focus on the contacts that are most likely to convert.
Lead Types
Lead Type identifies the type of contact in your CRM.
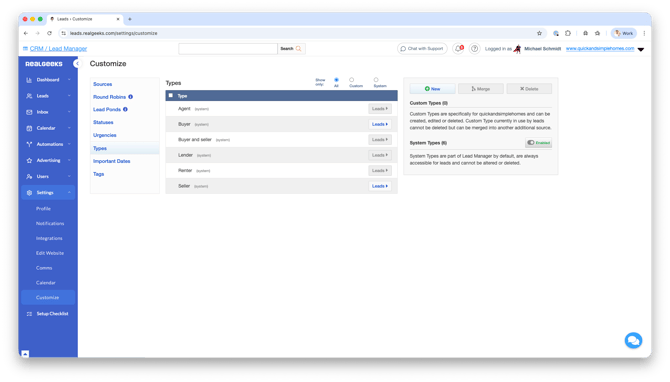
This allows you to segment your database and tailor your communication based on the lead's goals.
Common lead types include:
-
Buyer
-
Seller
-
Both
Segmenting leads by type allows you to send more relevant messages, saved searches, and follow up strategies.
Important Dates
Important Dates allow you to track meaningful milestones associated with a lead.

These dates create additional opportunities for timely follow up.
Examples include:
-
Birthday
-
Home purchase anniversary
-
Expected move date
Tracking these dates helps agents stay top of mind and maintain stronger relationships with their contacts.
Tags
Tags are flexible labels you can apply to leads to organize your database with more detail.

Tags can identify:
-
Lead interests
-
Property preferences
-
Marketing segments
-
Special notes about a contact
Because tags are fully customizable, they allow you to create powerful filtering and segmentation within your CRM.
Best Practices for Customizing Your CRM
When creating custom fields, keep your system simple and consistent so your team can use it effectively.
Recommended best practices include:
-
Use clear and consistent naming conventions
-
Avoid creating too many similar labels
-
Align urgency levels with your follow up schedule
-
Use sources to track marketing performance
-
Use Round Robins and Lead Ponds to automate lead distribution
A well organized CRM makes it easier for agents to stay focused on conversations and conversions instead of manual lead management.
Frequently Asked Questions
-
What is the purpose of Customize settings in the CRM?
Customize settings allow you to personalize how leads are categorized, prioritized, and distributed across your team. -
Can I create my own lead sources?
Yes. You can create custom sources to identify where leads originate and use those sources for reporting or lead routing. -
What is the difference between a Round Robin and a Lead Pond?
Round Robins automatically assign leads to agents in rotation, while Lead Ponds allow agents to manually claim leads from a shared pool. -
Why should I customize statuses and urgencies?
Customizing these fields helps your team track where each lead is in the pipeline and determine how frequently they should follow up.
Need Help?
- Call us at 844-311-4969 (Mon–Fri, 8 AM–8 PM CST)
- Email support@realgeeks.com
- View our Live Events page for free coaching and training.
- Join the Real Geeks Mastermind Group on Facebook for peer tips and best practices