Please Note
This feature is currently only available on the Anna - Modern website design template.
Editing the website is an account owner-level permission. If you don't see this option, contact your account owner to enable these permissions for you.
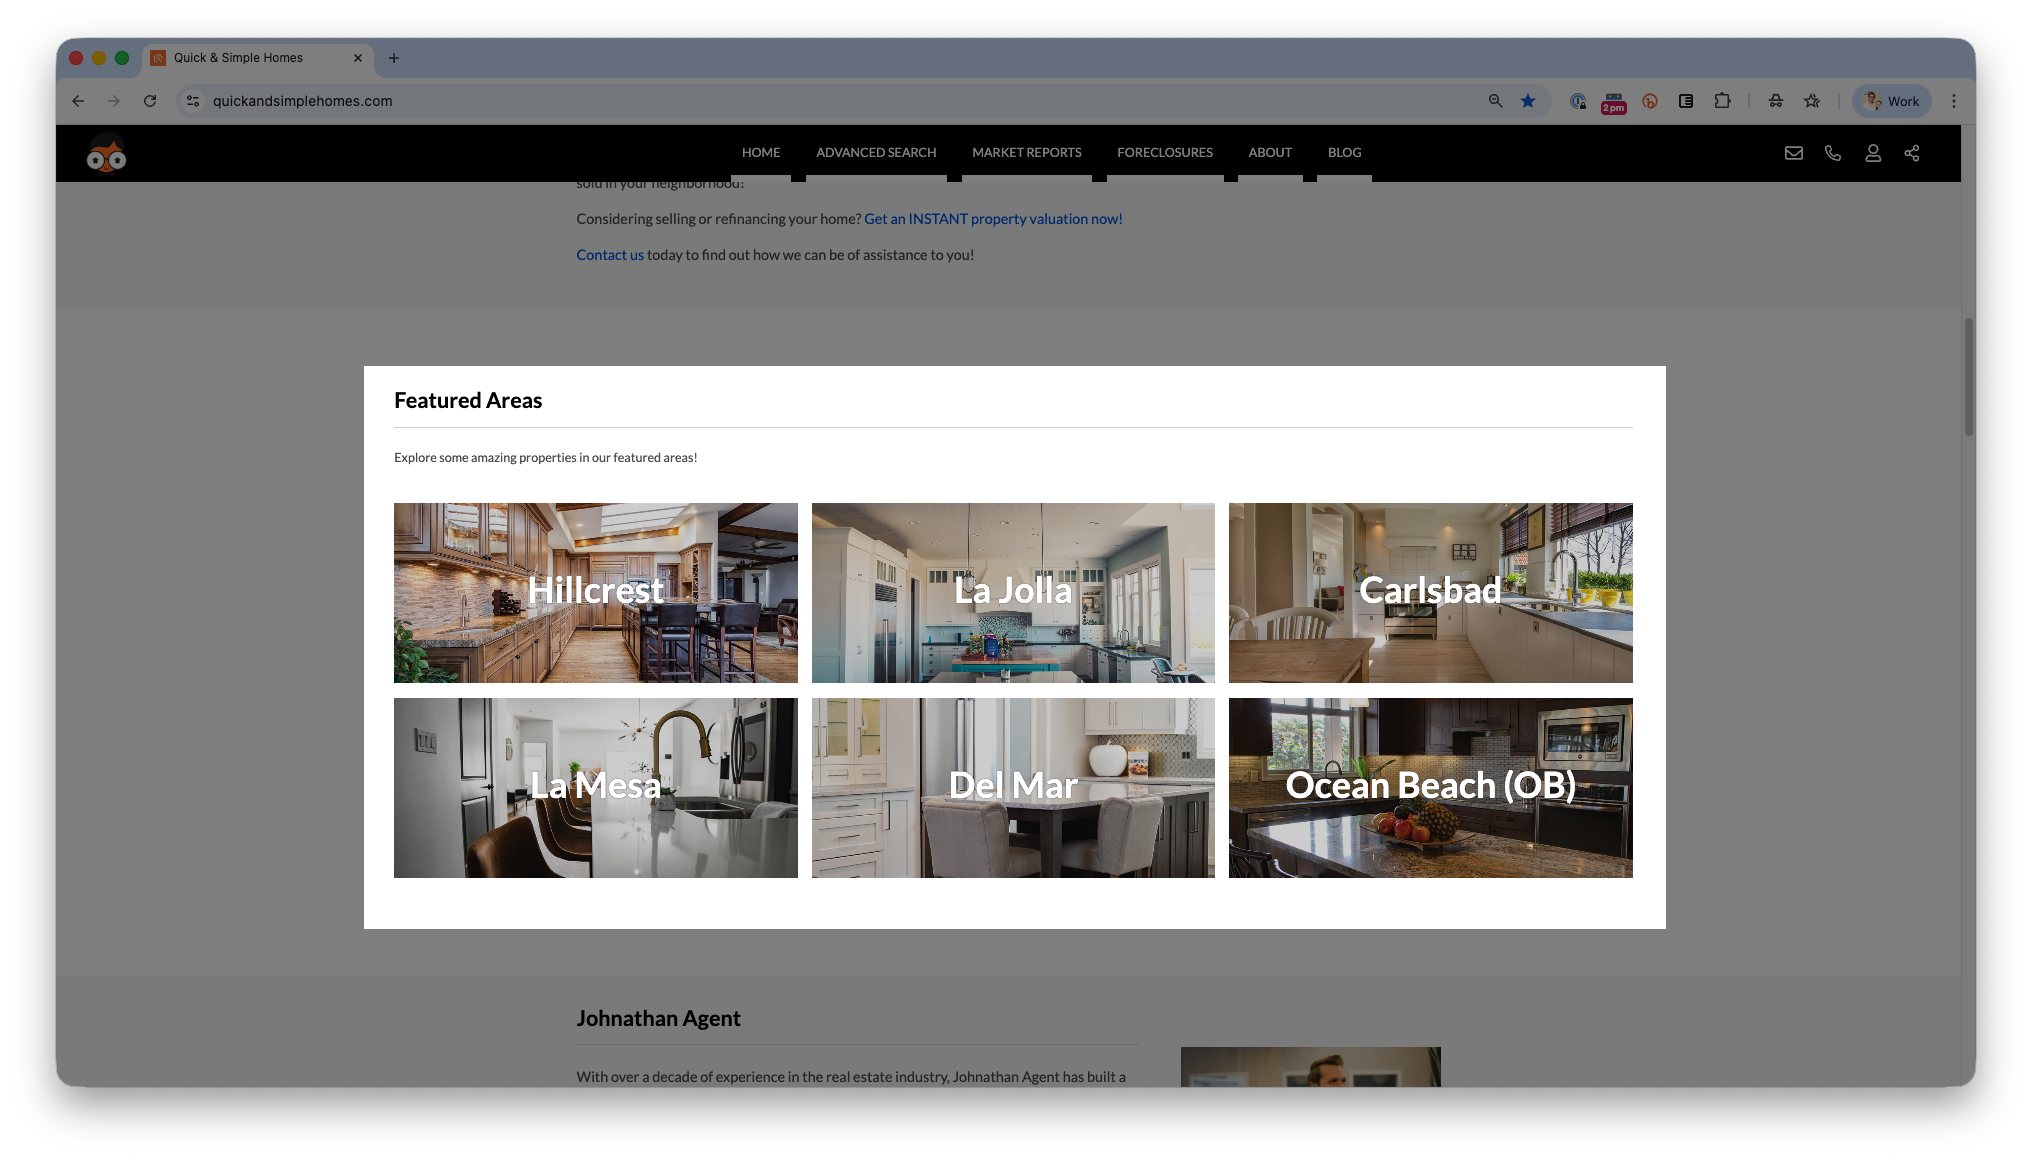
Tile Groups are a fantastic way to promote agent resources, or share information about different areas within your market! Customize these tiles with custom text and images to make your content easier to access.
Create a Tile Group
- Go to your website backend by adding /admin to the end of your website domain (www.website.com/admin)
- Click Home Page
- Look for Featured Pages under the WYSIWYG content box
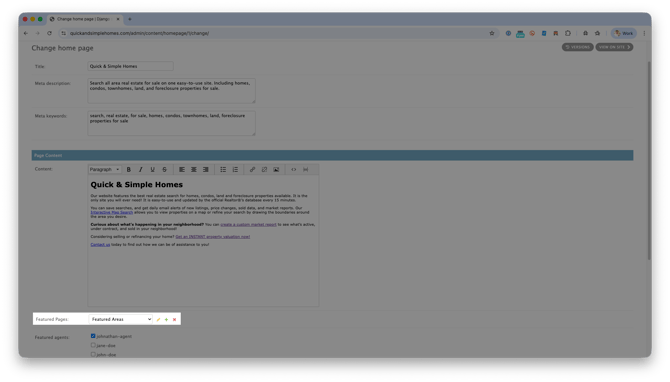
- Click the Plus (+) sign
- Look for the new popup window, and give your group a Title
- Enter the details for up to 6 tiles in a group

- Use Name to display the official title of an individual tile
- Use Page to add the link people will be taken to when they click the tile
- Use Button Text to add custom text to the tile’s custom button
- Click Pick Image to Upload a custom photo as your tile’s background
- If you don’t have any photos to use, visit unsplash.com or pexels.com to download high-quality images for free!
- After all tiles are created, click Save to create your Tile Group