Admin Feature
Editing the website is an account owner-level permission. If you don't see this option, contact your account owner to enable these permissions for you.
Your logo helps visitors recognize your brand and build trust. This guide explains how to add your logo to different parts of your website, including the top area, side area, and bottom section. You’ll also find image recommendations, placement options, and display tips to keep your branding clear and consistent.
Quick Reference
-
Recommended logo size: 400 × 86 pixels
-
File format: PNG is preferred; JPEG works if PNG is unavailable
-
Use a horizontal or text-based logo for best results
-
Avoid tall or detailed logos that may crop or blur
-
Square logos fit better in side or bottom areas
Table of Contents
- Recommended Size and Style
- Add a Logo to the Top of Your Website (Header)
- Add a Logo to the Side of Your Website (Sidebar)
- Add a Logo to the Bottom of Your Website (Footer)
- Add a Logo in Page Content
- Best Practices
- Troubleshooting
- Frequently Asked Questions
- Need Help?
Recommended Size and Style
Your logo should be clear, balanced, and sized for visibility.
- Recommended size: 400 × 86 pixels for top-area logos
- Use PNG format for best quality and transparency; JPEG is also supported
- Avoid uploading small images and stretching them to fit; this causes blurriness
Add a Logo to the Top of Your Website (Header)
![]()
To upload or replace your main logo:
- Open your website editor by adding
/adminto the end of your website address (e.g. www.website.com/admin) - Click Site Settings.
- Select Template Options.
- Next to Header Logo, click Pick Image.
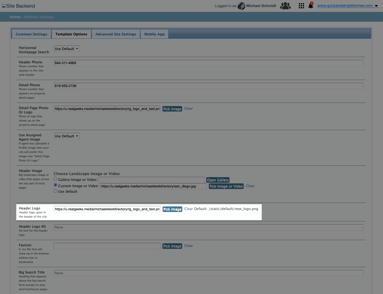
- Click Upload
- Select your logo file (PNG or JPEG) from your computer.
- Click Insert next to the image.
- Click Save to apply your changes.
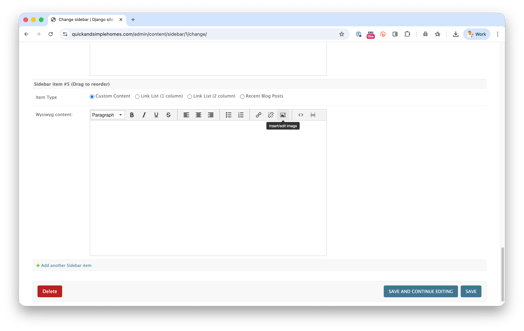
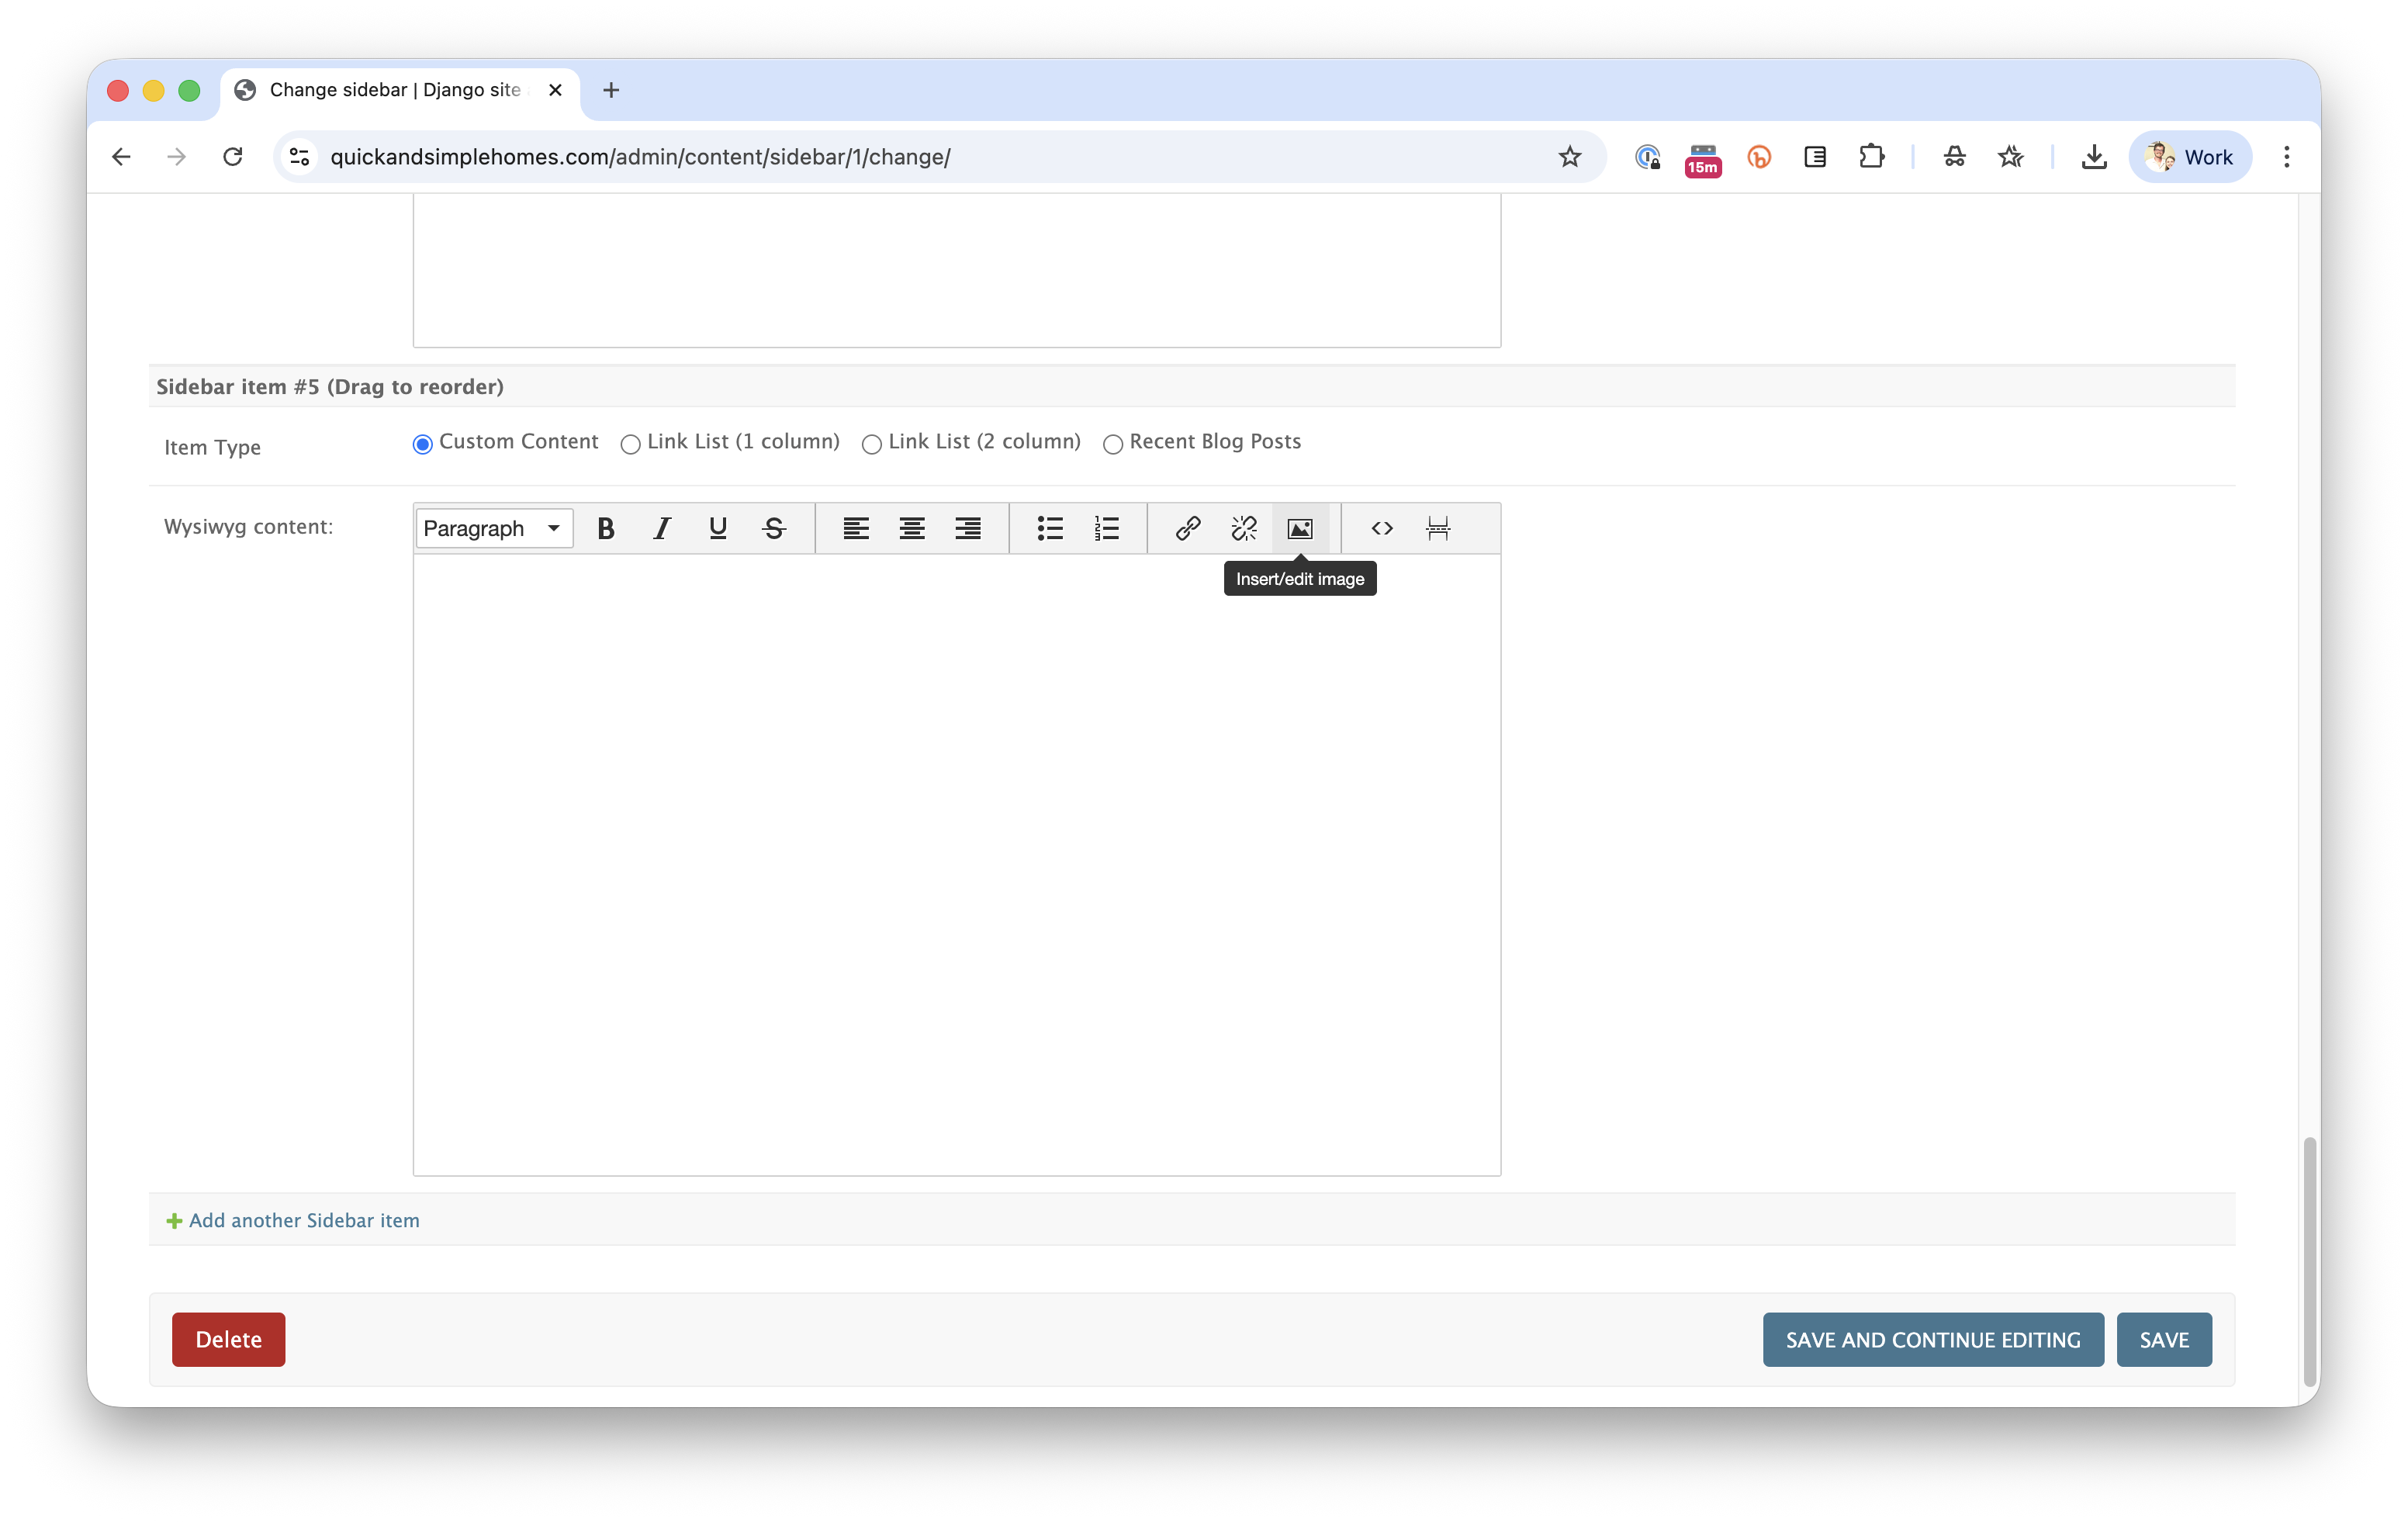
Add a Logo to the Side of Your Website (Sidebar)
![]()
You can use the side of your website to show extra logos, like brokerage affiliations, awards, or certifications.
- Open your website editor by adding
/adminto the end of your website address (e.g. www.website.com/admin) -
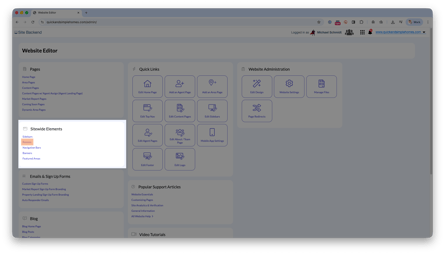
Click Sidebars
-
Choose your sidebar (commonly “Default Sidebar”).
-
Find the last empty slot and set Item Type to Custom Content.
-
Click Insert/Edit Image.
-
Select Source, then Upload.
-
Upload your logo
-
Click Insert, then OK, and Save.
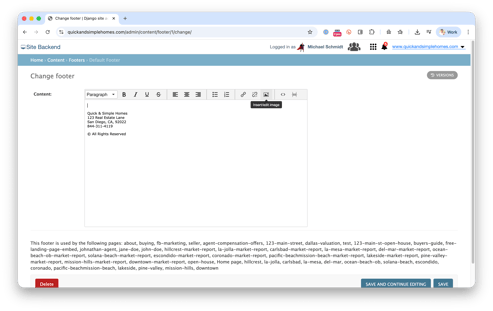
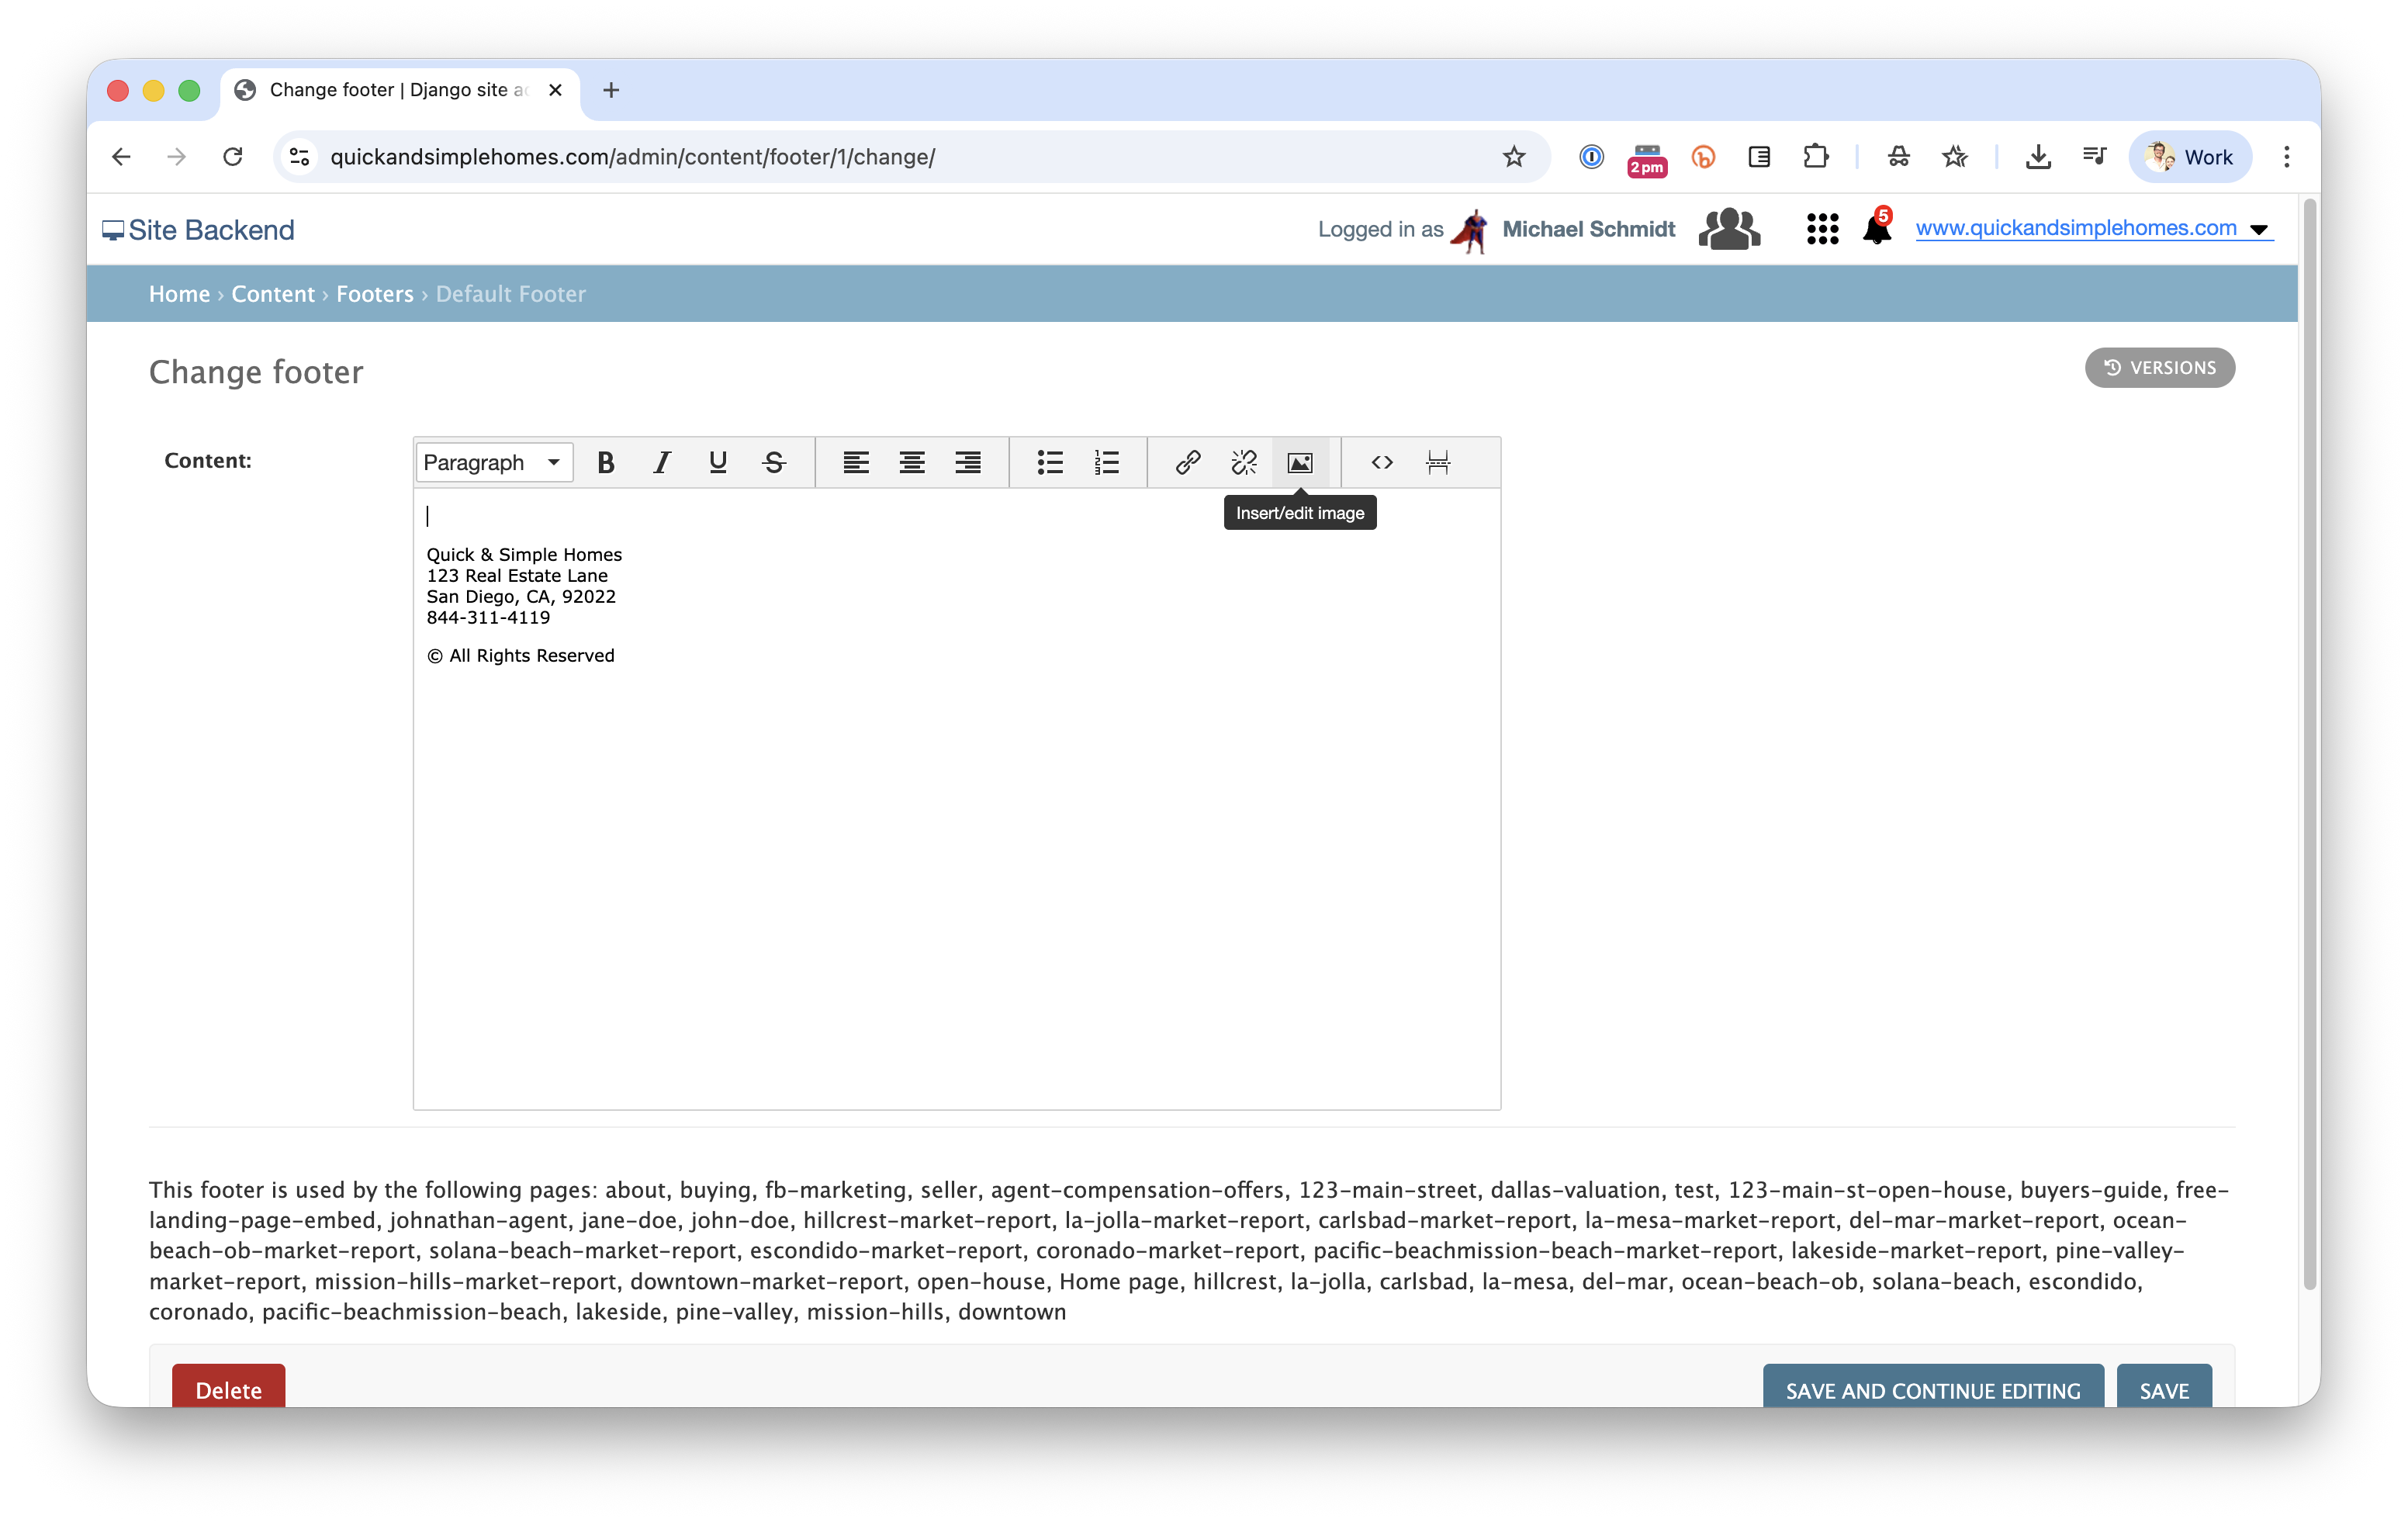
Add a Logo to the Bottom of Your Website (Footer)
![]()
Use the bottom of your site for brokerage details, compliance logos, or disclaimers.
- Open your website editor by adding
/adminto the end of your website address (e.g. www.website.com/admin) -
Click Footers under Sitewide Elements.
-
Select the Default Footer
-
Click where the logo should appear.
-
Click Insert/Edit Image.
-
Choose Source, then Upload.
-
Select or drag in your logo file (PNG or JPEG).
-
Click Insert, then OK, and Save.

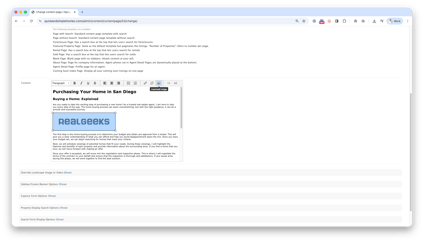
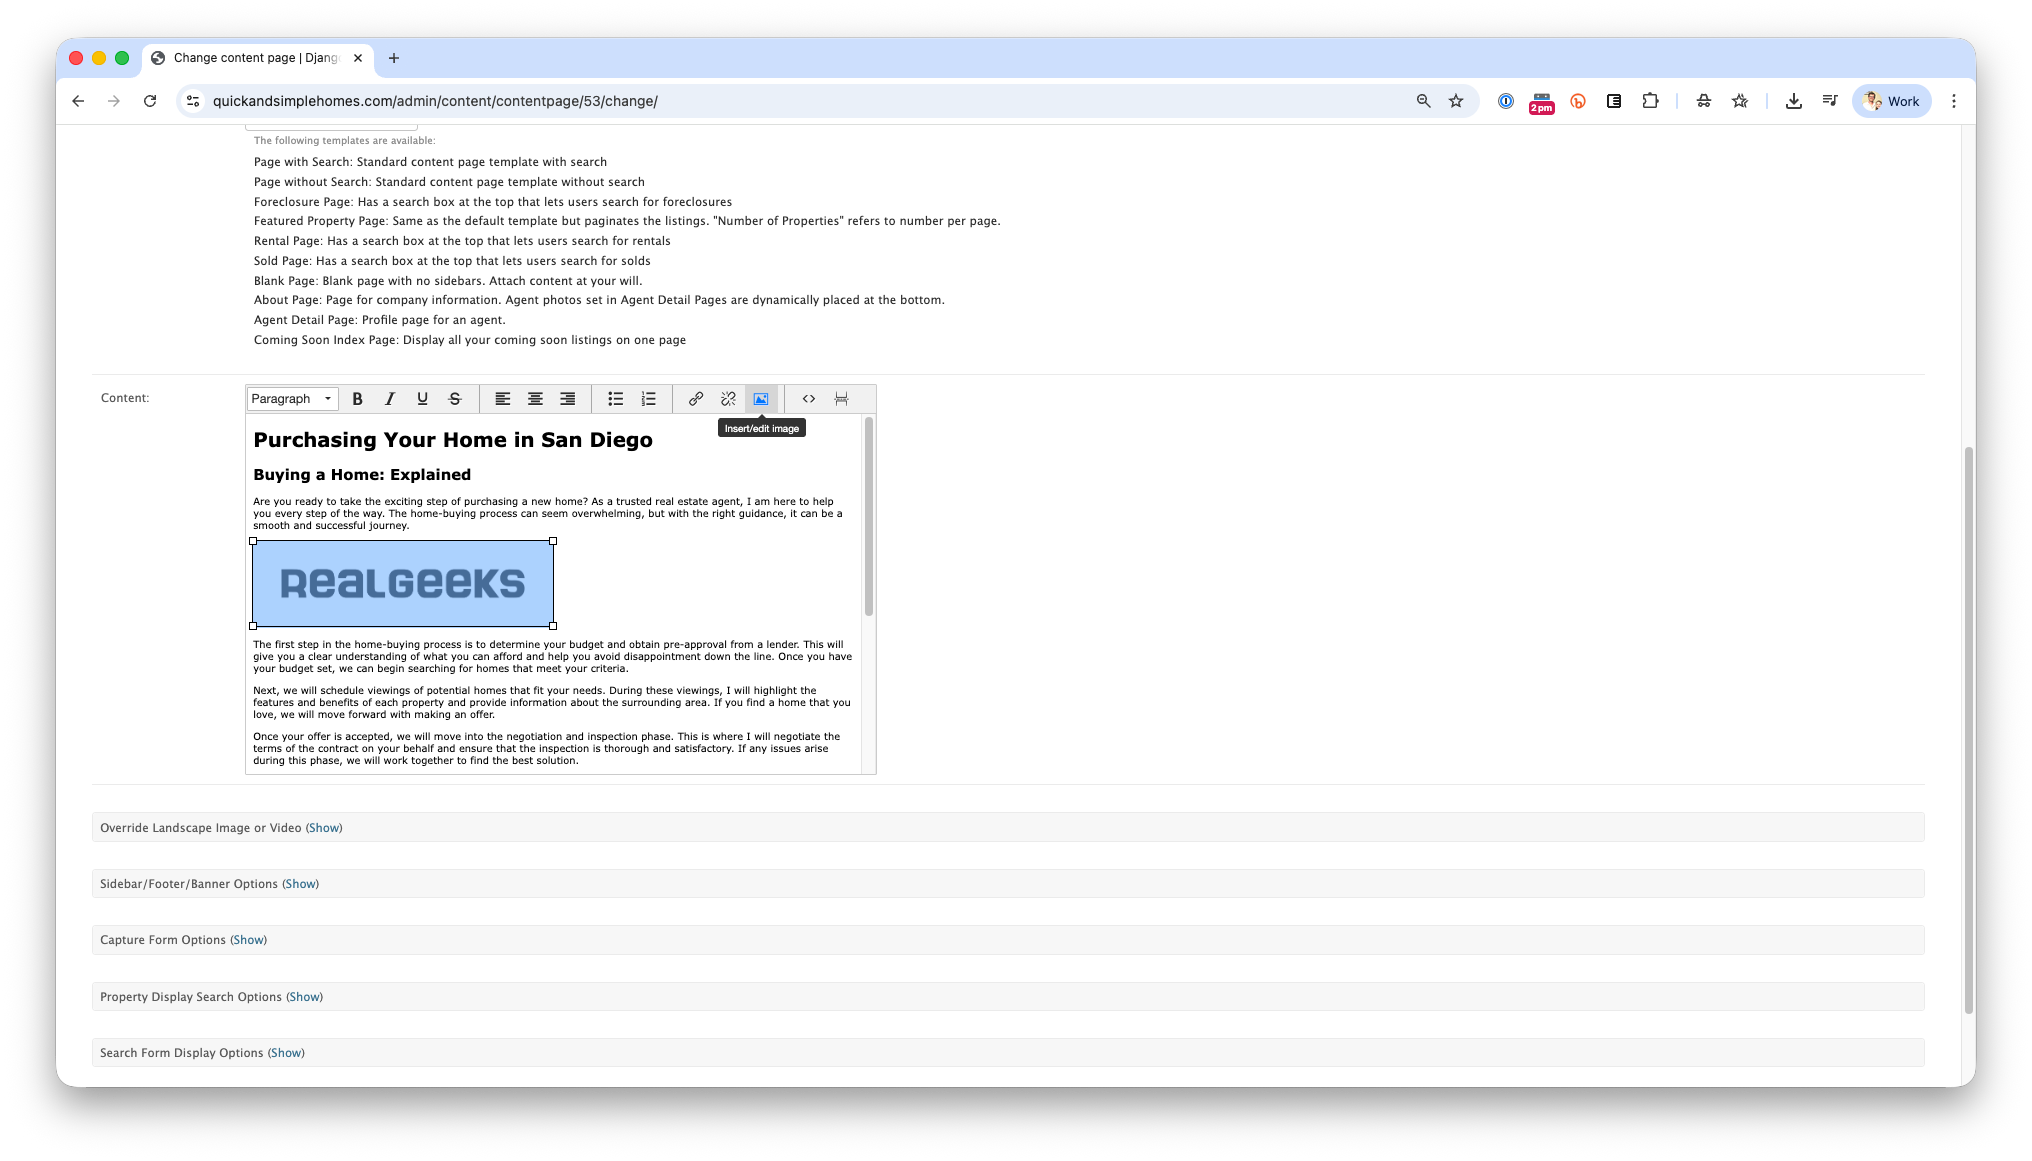
Add a Logo in Page Content
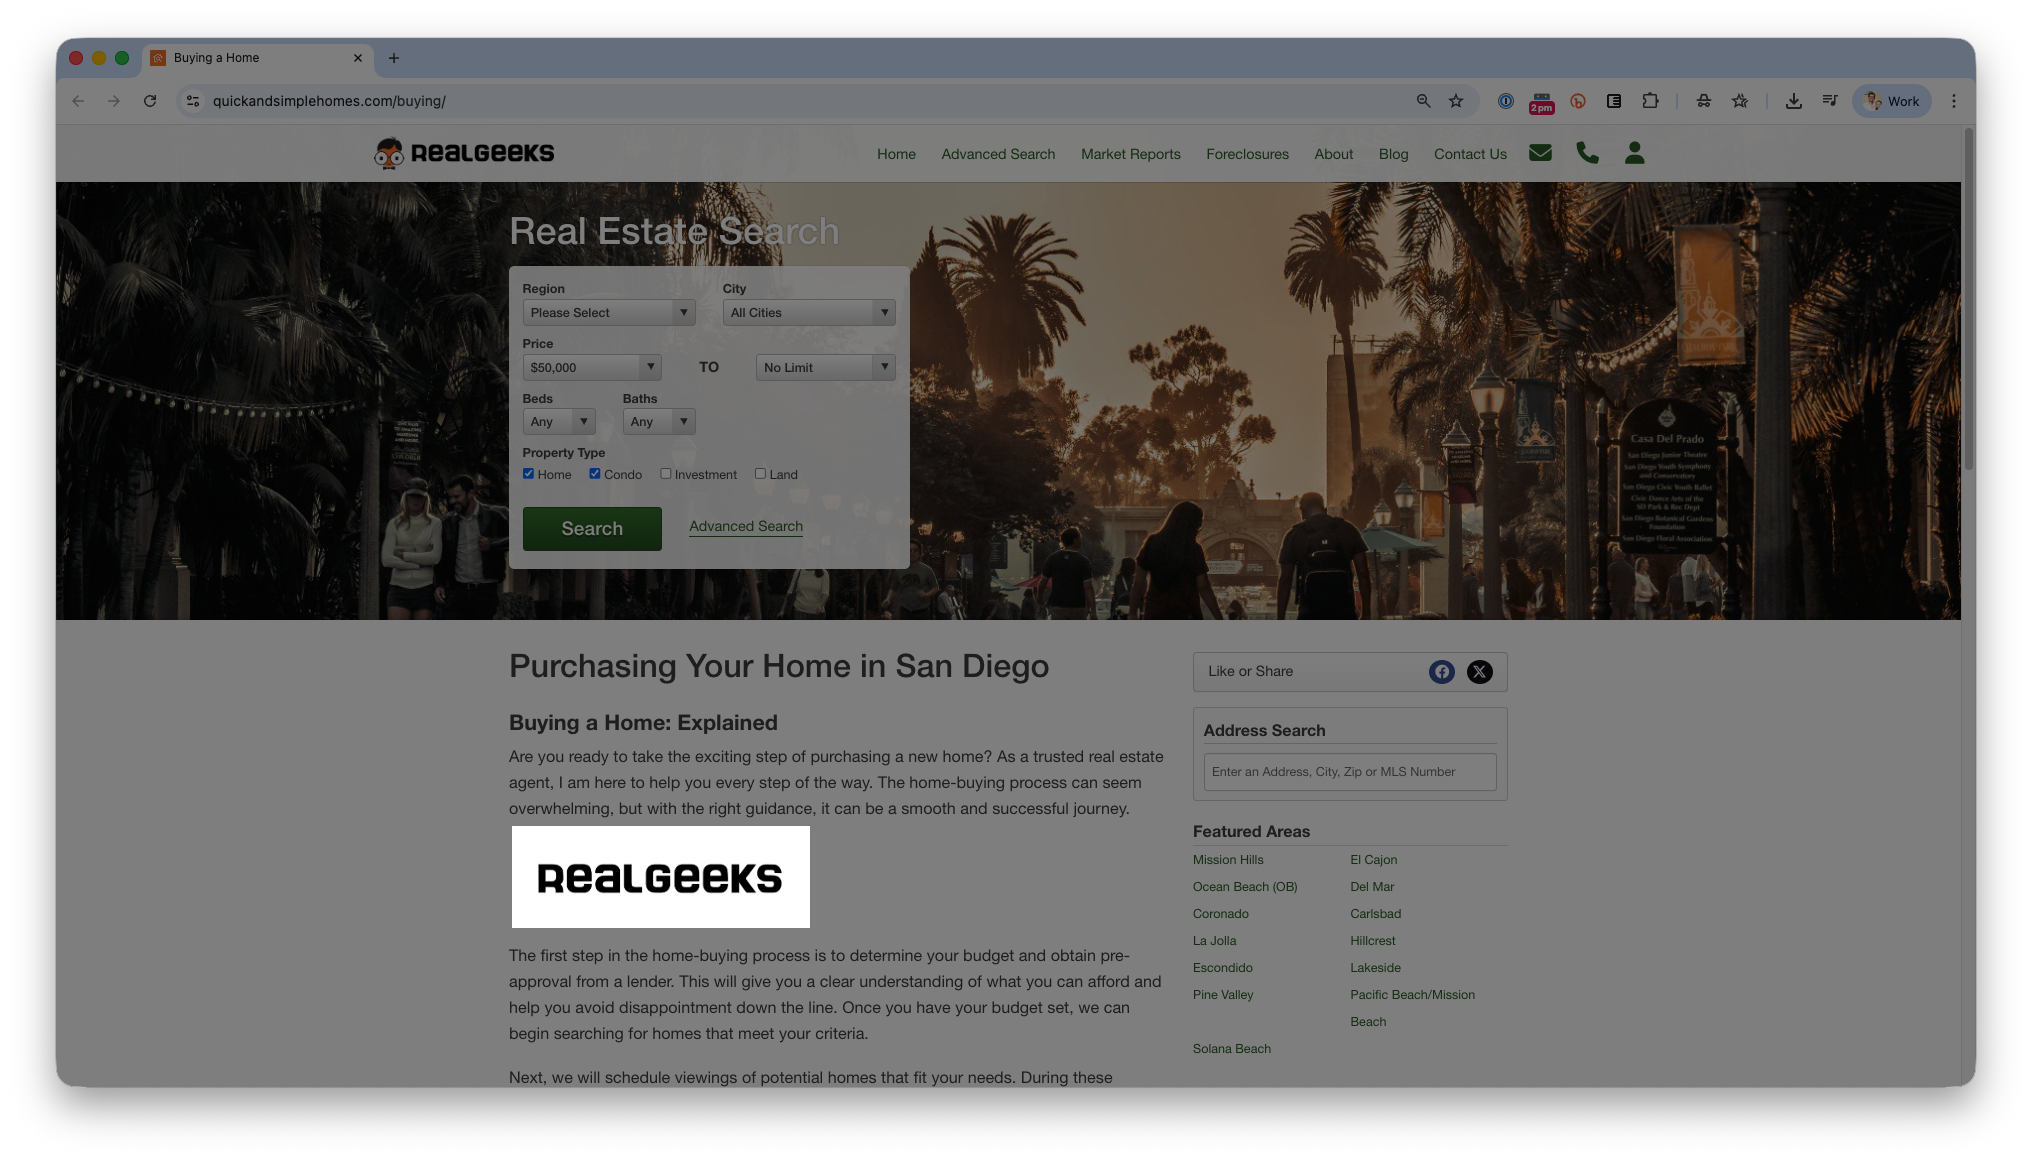
You can add a logo inside custom pages throughout your website such as the "about", "buying" or "agent profile":
-
Open the Page Editor for the desired page.
-
Click Insert/Edit Image.
-
Choose Source, then Upload.
-
Upload your logo file (PNG or JPEG).
-
Click Insert, then OK to confirm.
Best Practices
Keep your site consistent and professional with these tips:
-
Use clear, non-blurry images
-
Keep logo sizes visually balanced across all pages
-
Use light-colored logos on dark backgrounds, and dark logos on light backgrounds
-
Follow any branding requirements from your brokerage or certification partners
Troubleshooting
-
Logo doesn’t fit: Resize to 400 × 86 pixels for the top area, or scale evenly to maintain proportions.
-
Background appears behind the logo: Use a PNG format with a transparent background.
-
Logo not updating after upload: Clear your browser cache and refresh the page.
-
Logo looks blurry: Check that your image meets the recommended size. Avoid enlarging a small image — that can cause blurriness.
Frequently Asked Questions
Can I use a square logo at the top?
Yes, but it may appear small or cropped due to size constraints. A rectangular, text-based logo usually looks best in this space. Square logos can be used in other areas, like the side or bottom sections of your website.
Why is my logo blurry?
There are several reasons this can happen. We recommend confirming that your logo matches the 400 × 86 pixel size. Using a small image and trying to enlarge it can also cause distortion. If your logo still appears blurry, check the original file quality and format — PNG and JPEG typically produce the best results.
Can I upload separate logos for desktop and mobile?
No, the same logo is used across all devices.
Can I display more than one logo at the top?
Only one logo can be placed at the top area, but you can add additional logos in the side or bottom sections.
Which file types are supported?
You can upload PNG or JPEG files. SVG files are not supported.
Need Help?
- Call us at 844-311-4969 (Mon–Fri, 8 AM–8 PM CST)
- Email support@realgeeks.com
- Visit learn.realgeeks.com for free courses
- Join the Real Geeks Mastermind on Facebook for peer tips and best practices