Admin Feature
Editing the website is an account owner-level permission. If you don't see this option, contact your account owner to enable these permissions for you.
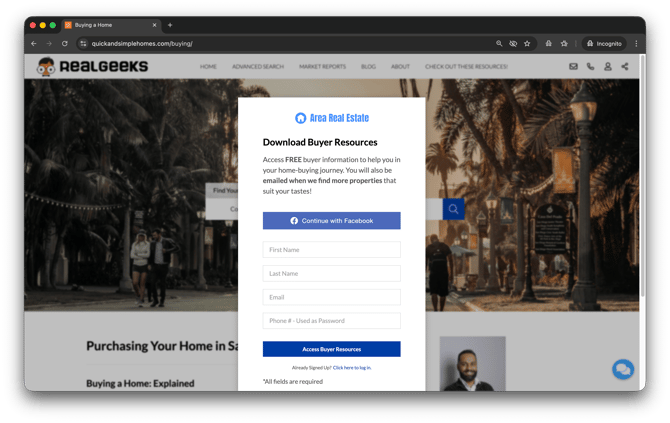
Real Geeks Capture Forms let you require sign-up on any Content or Area Page, not just listings. When enabled, visitors must register before viewing the content, turning these pages into intentional lead magnets. This way, your site acts as both a local resource and a steady lead source—without sending traffic to third-party tools.
Need to Know
-
Capture Forms can be applied to custom Content Pages and Area Pages
-
When this form is enabled, visitors must sign up before they can view the page content.
-
Once the form is completed, the lead is saved in the CRM and can view the page content and continue browsing homes on your website
Table of Contents
How Capture Forms Work on Custom Pages
Capture Forms allow you to require a visitor to sign up before accessing a page. Once enabled, a customizable form appears before any content is shown, meaning the lead must enter their contact information before they can view the page.
You control how the sign-up experience is presented to the lead. You can adjust the headline, supporting text, which contact fields are required, the button text, and the lead source so the form clearly aligns with the value of the content behind it and sets clear expectations before the lead registers.
How to Create a Custom Capture Form
-
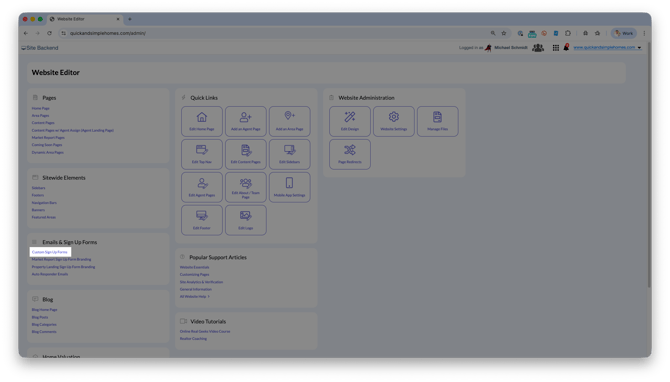
Open your website editor by adding /admin to the end of your website address (e.g. www.yourwebsite.com/admin)
-
Scroll down to Emails and Signup Forms, and click Custom Signup Forms
-
Click Add Content Page Capture Form
-
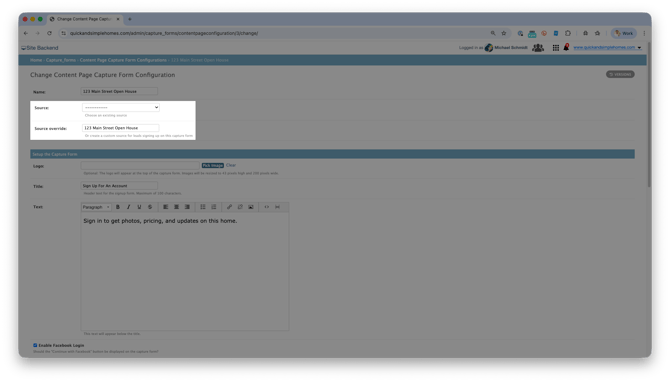
Name the form recognizable for your page's purpose (open house sign in, buyer pdf sign up, etc...)
-
Choose how these leads will be assigned a source after completing the form
-
Use the Source dropdown to select an existing source already in your lead manager
-
Use the Source Override field to create a new custom source such as “Open House Lead” or “123 Main St Open House”
-
Best Practice: Create a custom source in CRM settings, then select it in the Source menu. Use this to trigger a workflow campaign with open house details and automate future follow-up with the lead.
-
-
Personalize the form with a title, custom text, or logo
-
Choose which fields are required and customize the sign-in button text or Facebook login option
-
Optional: Select a background image for the sign-in form (available on Molly, Miranda, and Miranda-Thin templates only)
-
Click Save
Best Practice: Create custom sources in CRM settings first, then select them in the Source menu to trigger workflows and automate follow-up.
How to Apply a Capture Form to a Page
Once your form is created, apply it to a custom page (Content Page or Area Page) to require visitors to sign up before viewing the page.
Step-by-Step Instructions
- Go to your website backend by adding /admin to the end of your website domain (www.website.com/admin)
- Go to the Content Pages or Area Pages section to locate your custom page
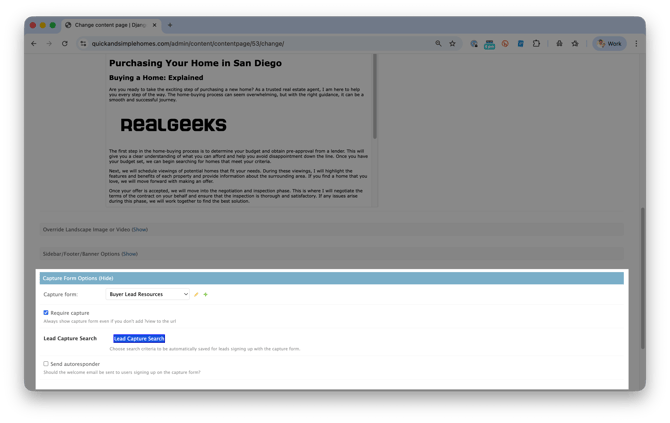
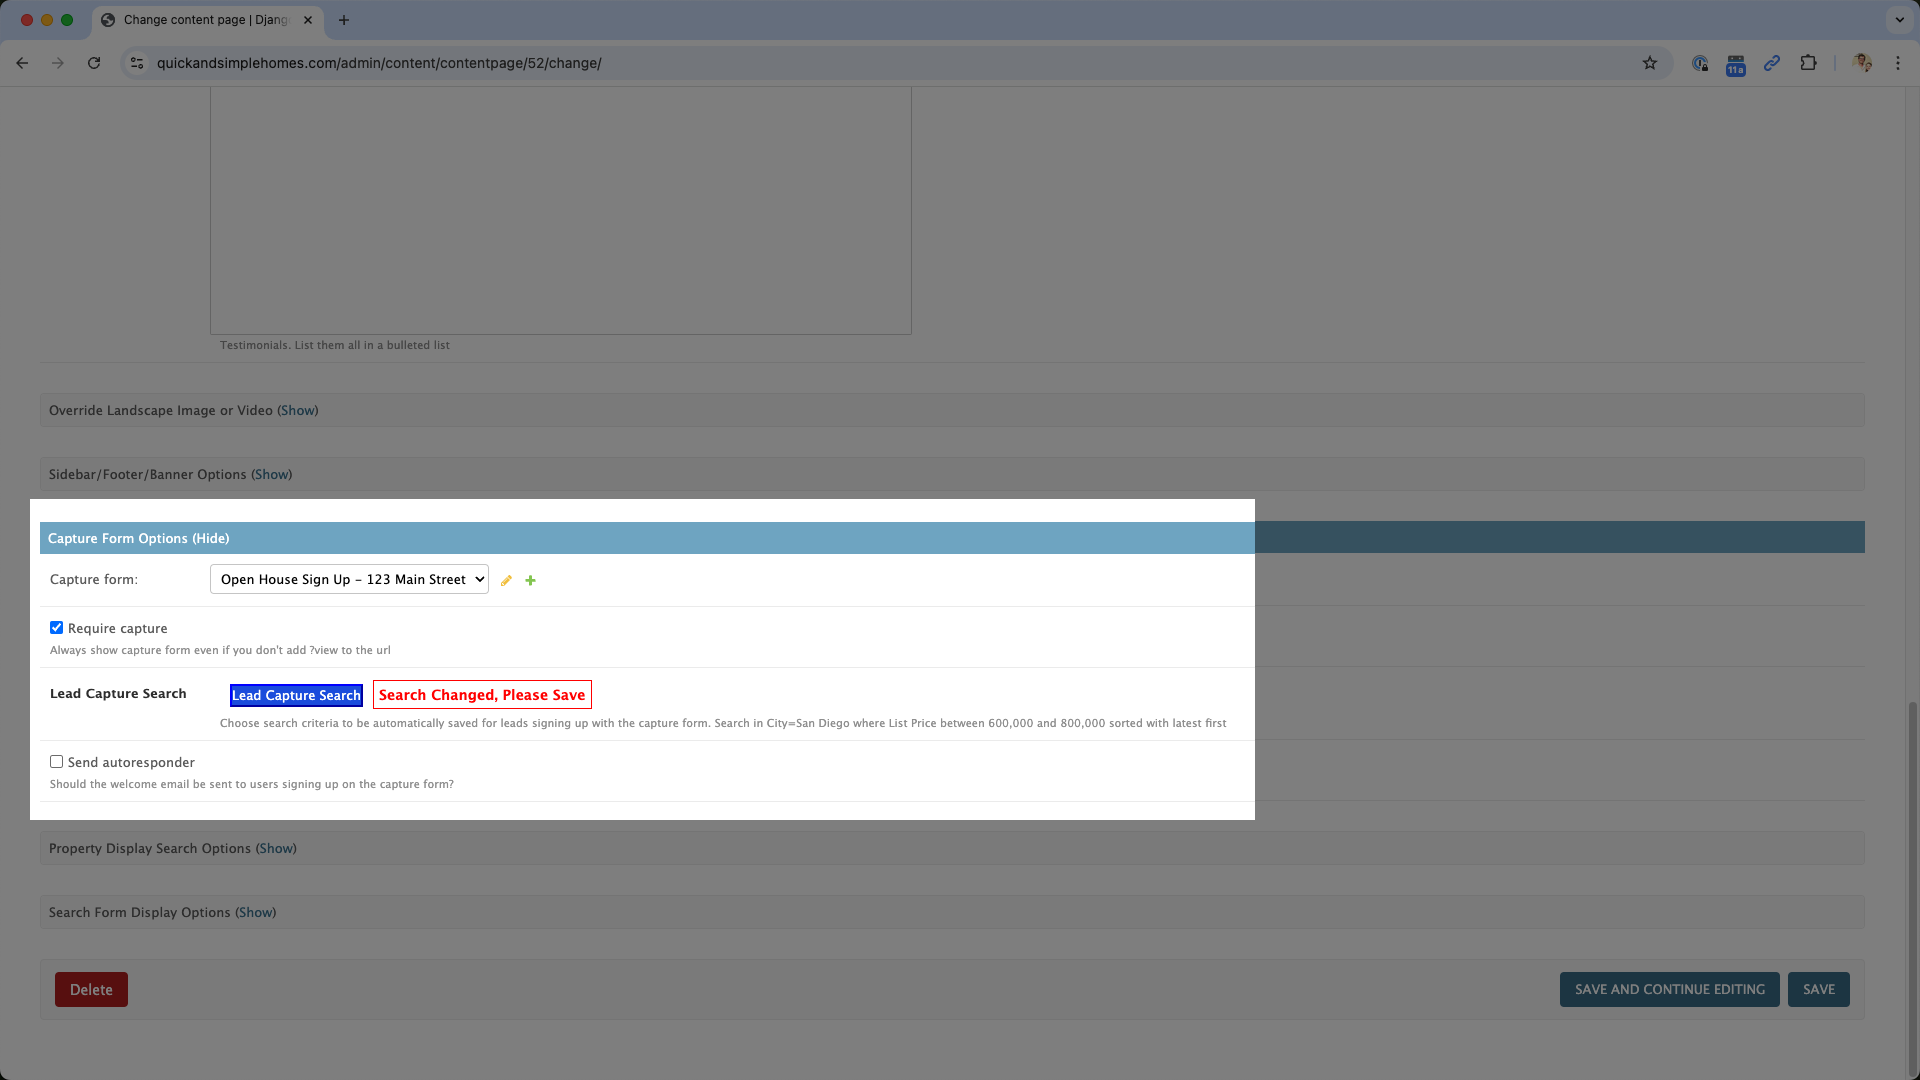
- Open the Capture Form Options menu by clicking Show

- Select your custom form in the Capture Form menu
- Select the Require Capture checkbox
- (Optional) Click Lead Capture Search to save a custom saved search to the lead's profile after a contact signs up through the form
-
This helps you deliver relevant property updates directly to the lead, enhancing their experience and engagement.
-
- (Optional) Click Send Autoresponder to enable/disable the automated welcome email that is sent to all new leads from your website
- Disable this if you'd prefer to create a custom workflow to communicate with this lead initially
- Click Save
Saving a search helps deliver relevant property updates automatically and improves engagement after signup.
Examples of Lead Generating Page Content
These are common ways agents use Capture Forms after applying them to a page.
-
Open house sign-in pages collect contact details from in-person visitors and trigger automated follow-up
-
Buyer or seller guides exchange PDFs for contact information from motivated prospects
-
Neighborhood guides capture early-stage buyers researching specific areas
-
Event pages for webinars, classes, or seminars gather registrations and track attendance
-
Video market updates allow you to gate short market explainers or monthly update videos, capturing leads who want local insight
-
Property walk-through or explainer videos let buyers preview homes or features in exchange for their contact information
-
Relocation or moving-to-the-area videos attract out-of-town buyers researching your market before they choose an agent
-
First-time buyer video series breaks down the buying process step by step and captures long-term nurture leads
Each example works because the visitor receives something useful in return for their information, making the signup feel natural instead of forced.
Best Practices
Follow these tips to improve conversion and lead quality.
-
Write a clear form headline that explains what the lead will get access to, and avoid generic language like “Sign up to continue”
-
Use sign-up pages for content that answers a specific question or serves early-stage buyers and sellers who are researching and planning
-
Use a custom source that matches the page purpose so you know exactly what the lead signed up for
-
When helpful, pair that source with a workflow so follow-up reflects the specific content the lead registered for
-
Example: If a lead signs up on a webinar page, a dedicated workflow you can send could include details before the event and a short follow-up afterward with related resources.
-
Troubleshooting
If a page is not behaving as expected, review these common issues.
-
Capture form not appearing: Confirm Require Capture is checked
-
Leads missing a source: Verify Source or Source Override settings
-
Duplicate autoresponders: Disable the default autoresponder if using workflows
-
Background image not showing: Confirm your site template supports it
Frequently Asked Questions
Can I use one capture form on multiple pages?
Yes. One form can be reused across multiple Content Pages or Area Pages.
Do capture forms work on listing pages?
Listing pages already include built-in registration. Capture Forms are designed for non-listing pages.
Will these leads appear in my lead manager?
Yes. All signups are saved automatically and follow your lead assignment rules.
Need Help?
-
Call us at 844-311-4969 (Mon–Fri, 8 AM–8 PM CST)
-
Email support@realgeeks.com
-
Visit Real Geeks University for free video courses
-
Join the Real Geeks Mastermind Group on Facebook for peer tips and best practices