Admin Feature
Editing the website is an account owner-level permission. If you don't see this option, contact your account owner to enable these permissions for you.
Your website is made up of individual pages. Each page has a specific purpose. Some pages help visitors search for homes, others help them learn about an area, and others help them contact you.
If you’re new to websites, understanding how pages work makes it much easier to build and manage your Real Geeks website with confidence. This guide explains what pages are, the different pages you can create in Real Geeks, and the basic process you’ll follow when creating or editing a page.
Need to Know
- Pages are individual pages on your website that visitors can view
- Each page has its own purpose, content, and web address
- Real Geeks includes different pages designed for specific goals
- Every page follows the same basic creation flow
- You don’t need website or SEO experience to get started
Table of Contents
- What a Page Is on Your Website
- The Different Pages You Can Create in Real Geeks
- How to Create a Page in Real Geeks
- Need Help
- Related Articles
What a Page Is on Your Website
A page is a single page on your website that visitors can view in their browser.
Think of your website like a book about real estate, guided by you.
Visitors come to read individual pages of that book to see new listings, learn valuable information, and understand how you or your team can help them navigate the market.
Each page on your website:
- Lives at its own web address (URL)
- Shares a specific message or type of information
- Helps visitors learn something or take action
Examples of website pages include:
- Your home page
- An About page
- A neighborhood or area page
- A page showing homes for sale
- A market report page
Some pages are designed to educate visitors. Others are designed to help visitors search for homes or contact you. Together, all of your pages guide people through your website and toward becoming leads.
The Different Pages You Can Create in Real Geeks
Real Geeks offers several different pages, each designed for a specific purpose.
Content Pages
Content pages are flexible pages used to share written content, images, videos, and search tools. They are commonly used for landing pages, general information pages, and custom content tailored to your market.
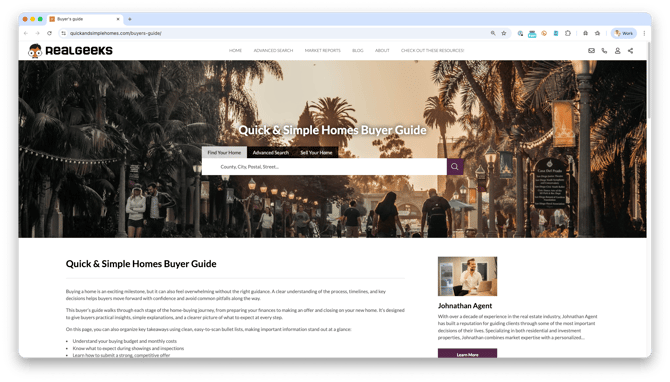
Learn how to create and customize a content page in our Content Pages guide.
Area Pages
Area pages are designed to highlight specific cities, neighborhoods, or communities. They combine local information with property listings to attract buyers searching by location.
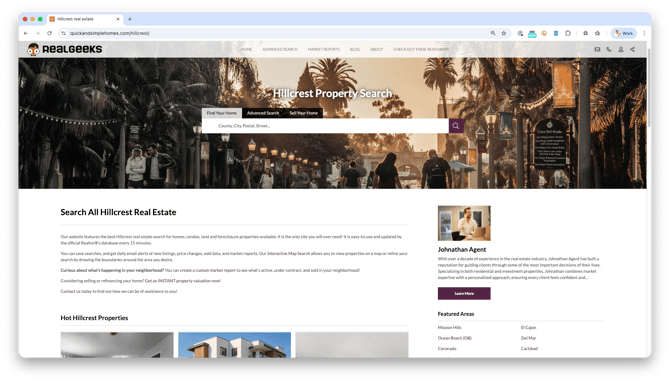
Learn how to build area pages in our Area Pages guide.
Dynamic Area Pages
Unlike area pages, which you create manually, dynamic area pages are created automatically based on real-time searches performed by visitors on your website. You do not need to take any action for these pages to begin benefiting your site in hyper-local search results, but you can customize them further if needed.
Learn how dynamic area pages work in our Dynamic Area Pages guide.
Market Report Pages
Market report pages show real estate trends for a specific area and automatically update with new data. These pages are often used to attract seller leads and provide value to homeowners.
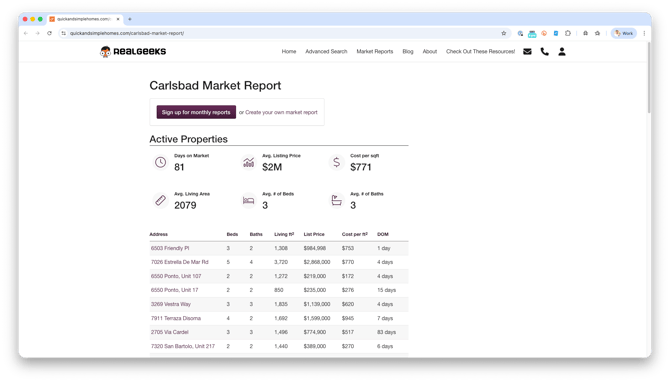
Learn how market report pages work in our Market Report Pages guide.
Agent Pages
Agent pages highlight individual agents on your team and include contact information and lead capture forms. These pages help visitors connect with the right agent quickly.
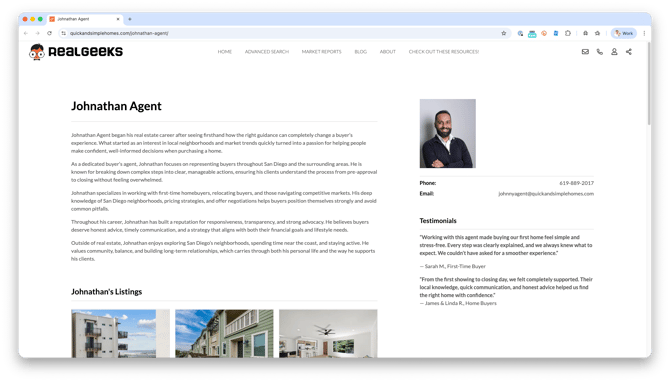
Learn how agent pages are set up in our Agent Landing Pages guide.
Coming Soon Pages
Coming soon pages promote properties that are not yet live on the market and allow visitors to register for updates before a listing becomes active.
Learn how to create a coming soon page in our Coming Soon Pages guide.
Home Page
Your home page is the main entry point to your website and is often the first page visitors see. It introduces your brand, highlights your value as an agent, and directs visitors to searches, area pages, and contact options.
How to Create a Page in Real Geeks
Creating pages in Real Geeks follows the same general flow, regardless of which type of page you’re working with.
You start in the website editor, choose the type of page you want to create, and then work through the same three parts of page setup every time: page details, page content, and page settings. This section gives you a quick overview of that process so you know what to expect.
Step 1: Choose a Page in the Website Editor
To access the website editor, add /admin to the end of your website address and sign in (for example, www.yourwebsite.com/admin).
Go to the Pages section of the website editor. This is where you’ll find all available page types and any pages that already exist on your site.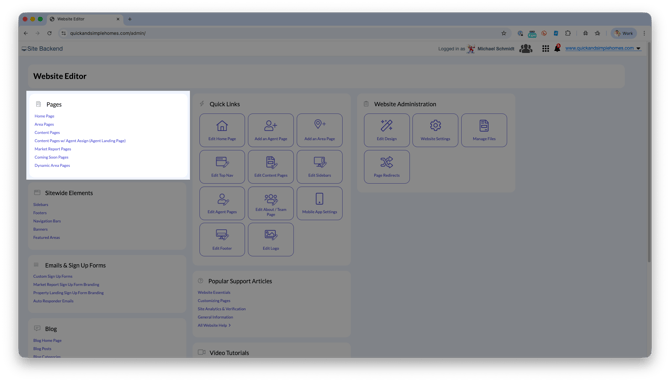
From here, you can:
- Create a new page
- Edit an existing page
- Choose the type of page you want to work with
Once you select a page or create a new one, you’ll move into the page editor.
Step 2: Page Details
Page details define what the page is called, where it lives on your website, and how it’s organized. You’ll see these fields whenever you create any page you in Real Geeks.
Some fields are required to save the page. The remaining fields are optional and can be used to enhance your website's SEO.
-
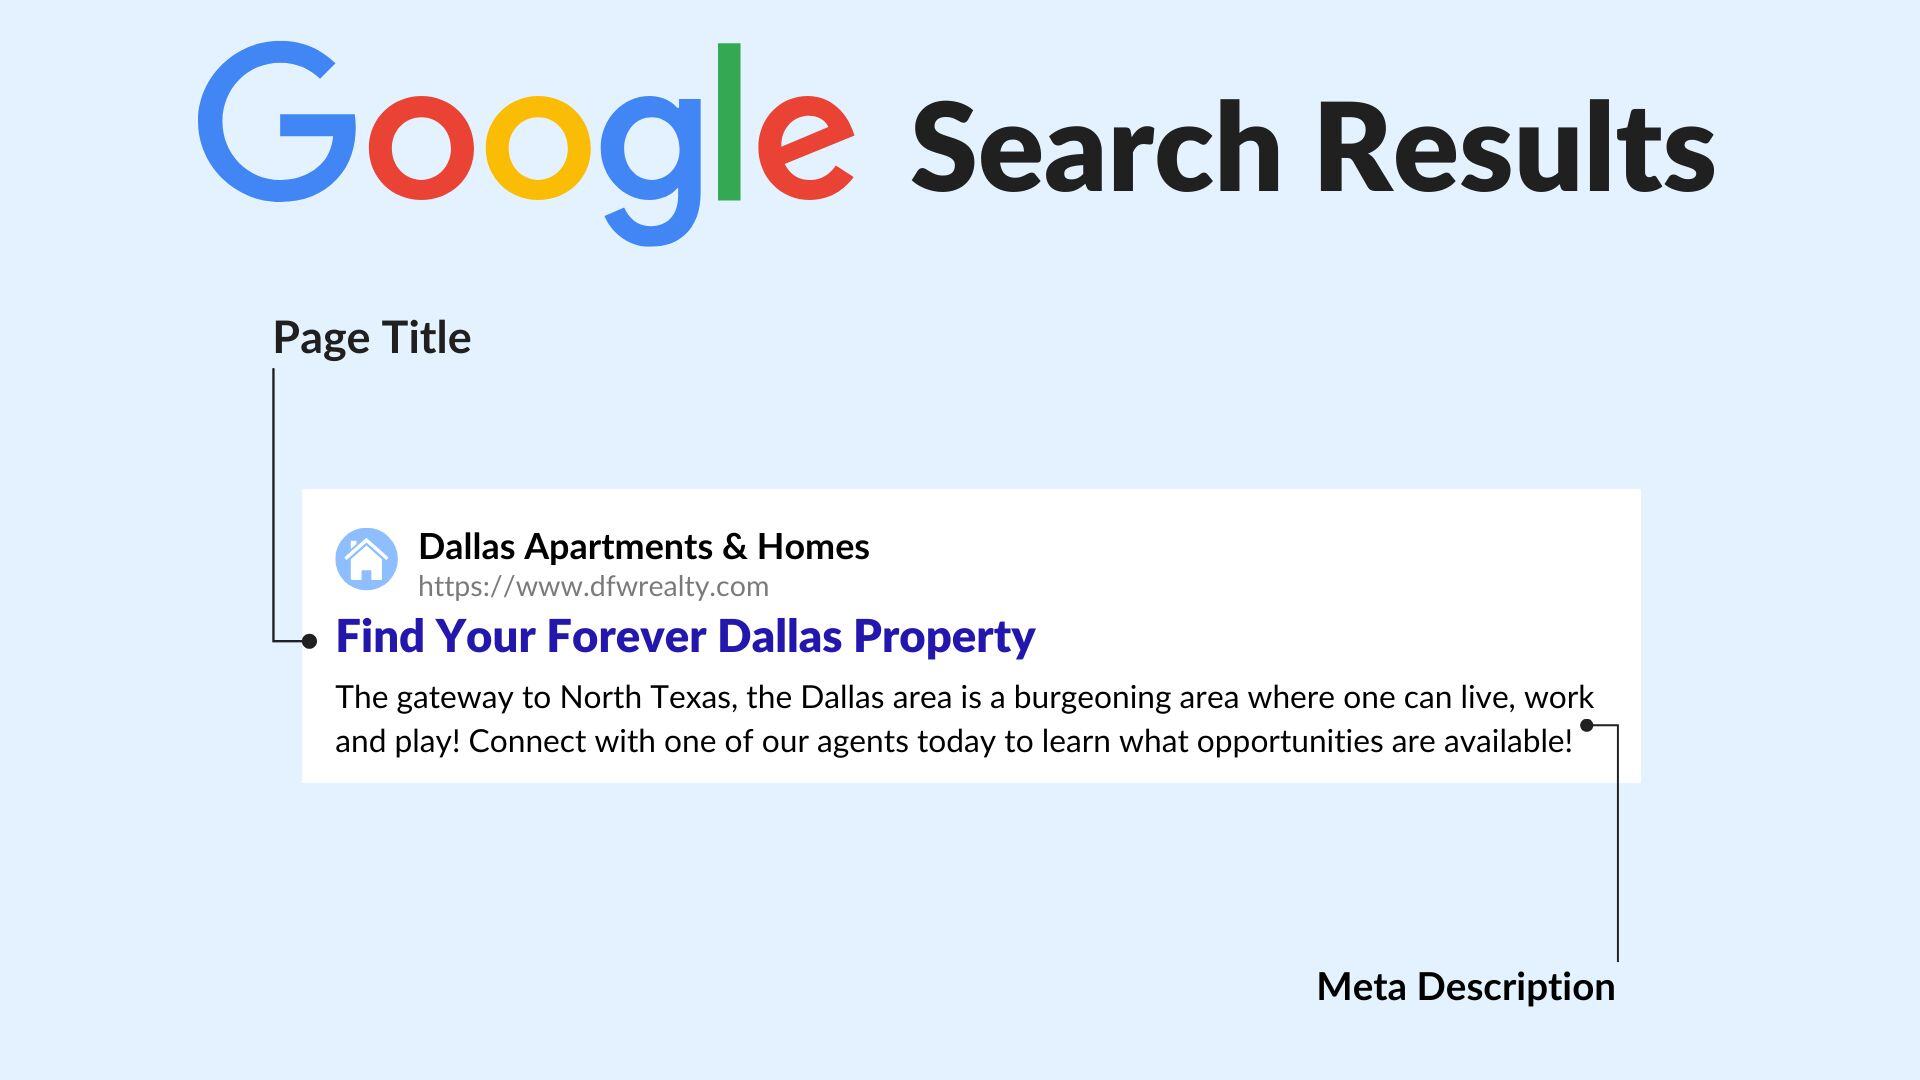
Title (required)
The main name of the page. This appears in browser tabs and is often shown in search results. -
Anchor Text / Page Name (required)
The internal name used inside Real Geeks to identify the page when building menus or linking pages together. -
Slug (required)
The part of the page’s web address that comes after your domain name. This determines where the page lives online.
Example: the slug for yoursite.com/downtown-austin-homes is/downtown-austin-homesbecause it identifies which page on your website -
Parent
Used to organize pages under other pages. This creates a page hierarchy and can affect the page’s URL structure.
If your website is like a book, then the Parent is like a Chapter to organize all of your pages in.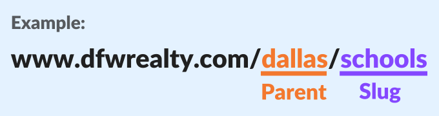
-
Meta Description
A short summary of the page content. This may appear in search results and helps people understand what the page is about before clicking.
-
Meta Keywords
Keywords related to the page topic. These help you stay intentional with your content.
Together, these details help Real Geeks organize the page and help visitors understand what the page is for.
Step 3: Page Content
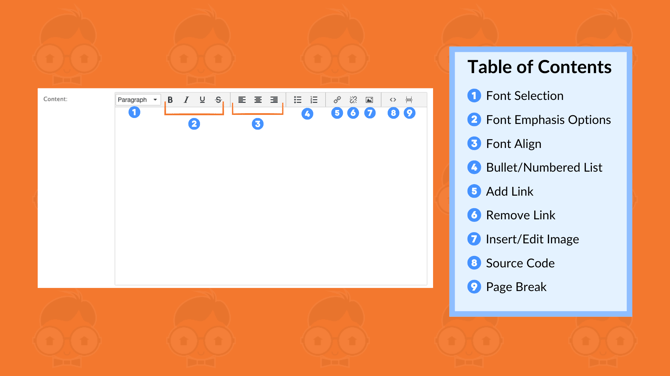
The page content section is where you add what visitors actually see on the page.
Use the content editor to add written content, images, videos, listings, and search tools to your page. This is where you provide value by helping visitors learn more about real estate and understand how you or your team can help.
Step 4: Page Settings
During page setup, you will also see additional settings that let you personalize how the page looks and functions.
These options are not required, but they give you more flexibility when customizing your page. If you are just getting started, you can leave these settings as-is and come back to them later.
The following settings are available when customizing a page:
-
Override Landscape Image
Change the image displayed at the top of the page -
Sidebar / Footer / Banner
Choose which supporting content areas appear on the page -
Capture Form Options
Turn a simple page into a lead capture landing page to collect visitor contact information -
Property Display Search Options
Control how listings display on the page -
Search Form Display Options
Customize search tools shown to visitors
This overview is designed to help you get comfortable creating pages. Each page type follows this same structure. For more detailed instructions or best practices, refer to the specific page guides linked throughout this article.
Need Help
If you need help creating or managing pages on your Real Geeks website, support and training resources are available.
- Call us at 844-311-4969 (Mon–Fri, 8 AM–8 PM CST)
- Email support@realgeeks.com
- Visit learn.realgeeks.com for free video courses
- Join the Real Geeks Mastermind Group on Facebook for peer insights