Admin Feature
This feature requires account owner or admin access to the website editor. If you don't see this option, contact your account owner to enable it for you.
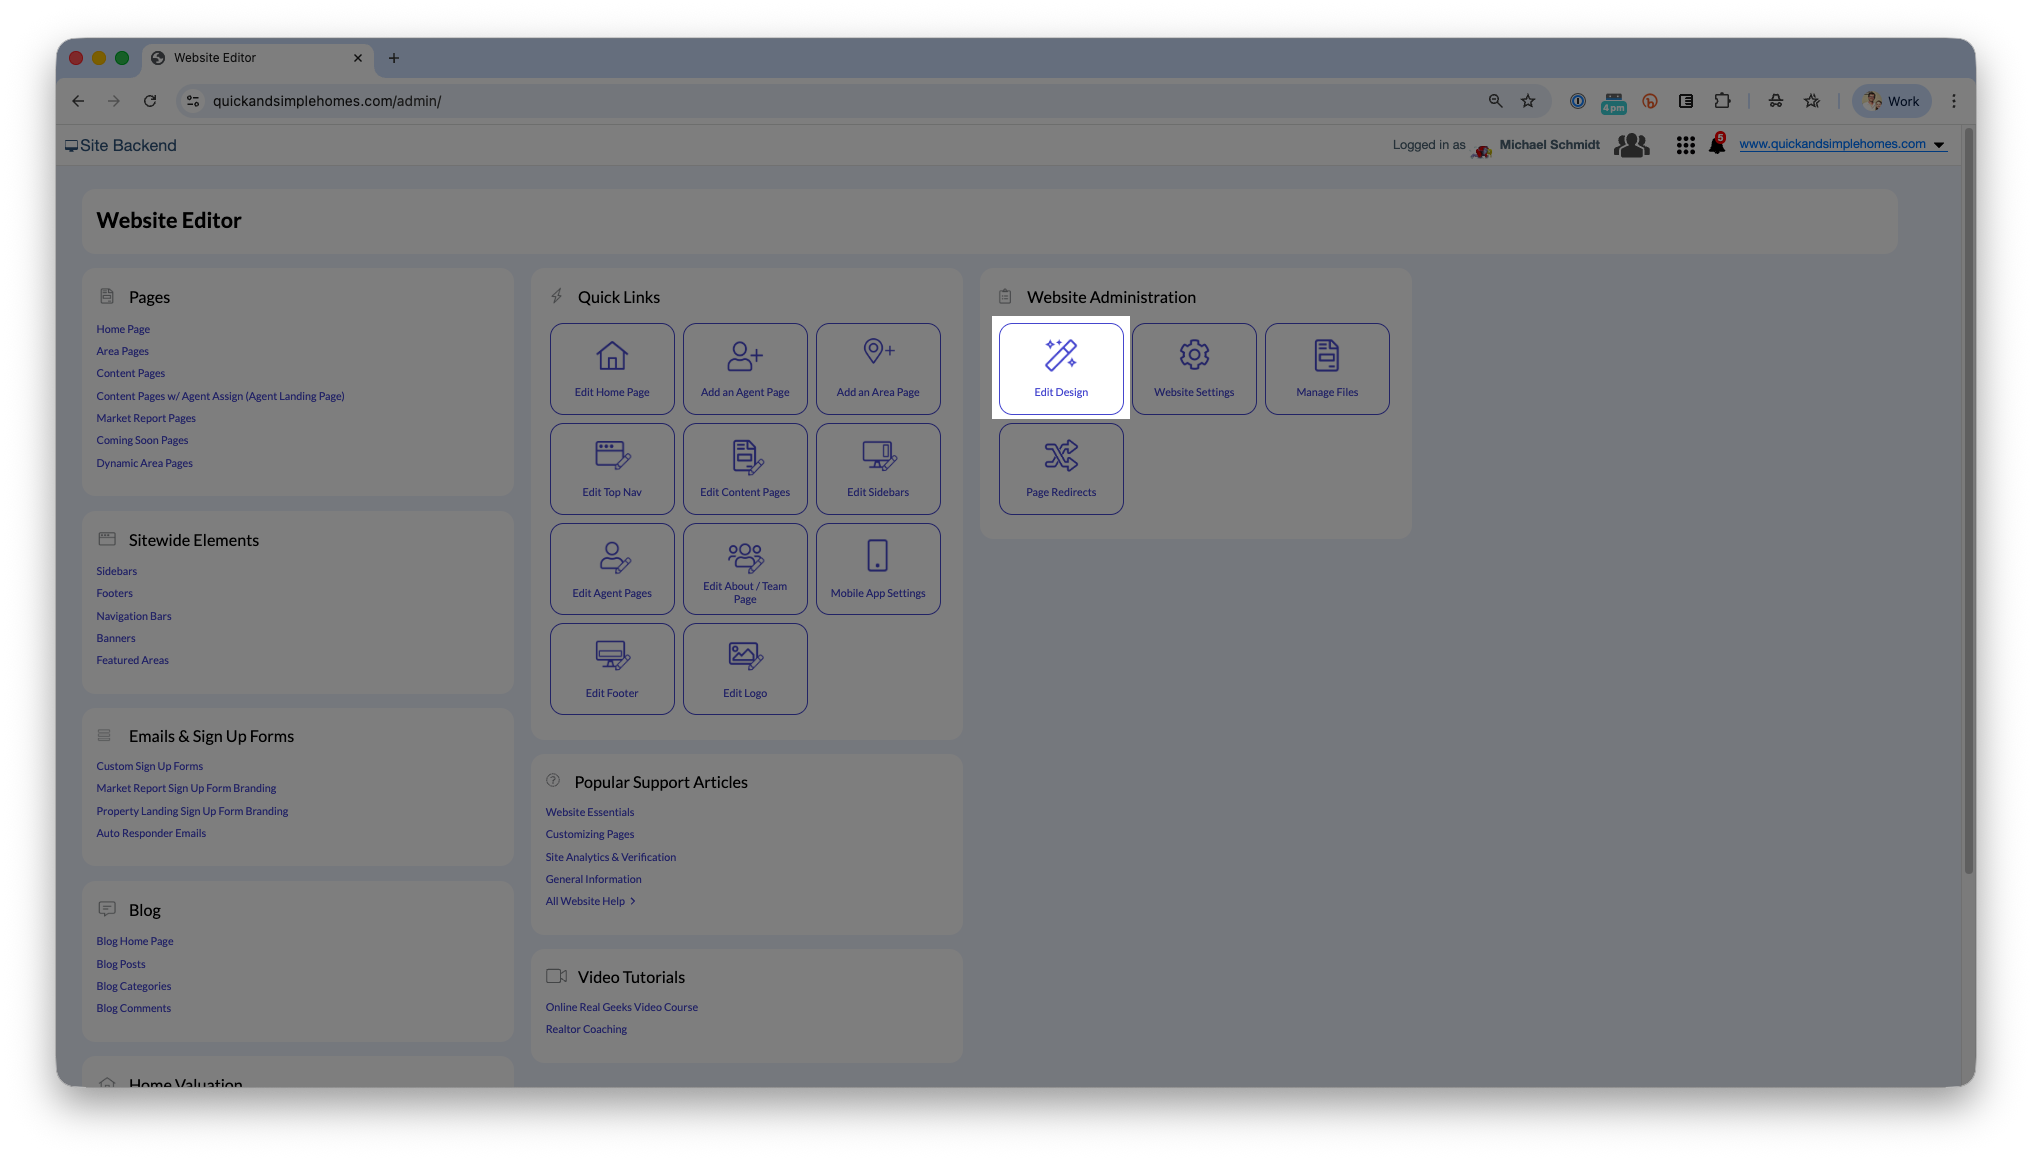
The Guided Setup Tool is the quickest and easiest way to launch your Real Geeks website. Instead of navigating multiple settings on your own, this tool walks you through the essential steps, choosing your design, adding your branding, selecting your featured areas, and entering your contact information, so your site is ready for visitors right away.
⚠️ Please Note
The guided setup tool can only be used once. Take your time, move slowly, and fill in as much information as possible.
You’ll be able to update your design, content, template, and colors later in the Design Editor, but completing these steps now sets you up for the smoothest, most complete launch.
Table of Contents
- How to Get Started
- Step 1: Choose Your Website Template
- Step 2: Choose Your Color Palette
- Step 3: Add Your Company Information
- Step 4: Set Your Website Title
- Step 5: Select Your Featured Areas
- Step 6: Upload Your Logo
- Step 7: Choose Your Header Image
- Step 8: Create Bio Pages for You and Your Team
- Need Help?
Quick Reference
-
Template and colors can be changed later in the Design Editor.
-
Recommended logo size: 400 × 86 pixels (horizontal logos display best).
-
Add as many featured areas as you’d like — choose your locations thoughtfully.
How to Get Started
The guided setup tool displays automatically the first time you visit your site editor.
- Open your website editor by adding /admin to the end of your website address (e.g. www.website.com/admin)
- Log in using your Real Geeks credentials
- Click Get Started to launch the guided setup

- Follow the on-screen steps to build your website
Once completed, the guided setup will not appear again. All future edits are made in the website editor.
Step 1: Choose Your Website Template
 Your template determines the foundation and overall layout of your website. You’ll see several Real Geeks templates, including:
- Anna (modern, high-conversion layout)
- Anna – Modern (clean, minimal, updated styling)
- Miranda (classic real estate layout)
- Miranda – Thin (variation with a more compact header)
- Molly (simple, traditional layout)
Tips for choosing your template:
-
If you want a fresh, modern design, Anna or Anna-Modern are great choices.
-
If you prefer a more classic or familiar real estate layout, Miranda or Miranda-Thin will feel comfortable.
You can change your template later in the Design Editor, but selecting the one closest to your needs now makes setup faster.
Step 2: Choose Your Color Palette
 Your color palette sets the overall look and feel of your website. The color options you see in the guided setup are based on common brokerage color schemes. These palettes are meant to give you a solid starting point, but:
Not all brokerages use these exact colors — and that’s okay.
You are not locked into these preset palettes. They simply provide a baseline so you can launch quickly.
If your brokerage’s branding colors differ from the available options or you’d like a more tailored aesthetic, you have full control to refine your color palette later in the Design Editor.
To update colors after completing the guided setup:
- Open your website editor by adding /admin to the end of your website address (e.g. www.website.com/admin)
- Click Design Editor

- In the Design Editor, you can:
- Select a different preset color variation or
- Open the Advanced Options panel to manually adjust individual colors (buttons, links, accents, headers, and more)
This step sets your site’s initial branding, but you retain full flexibility afterward.
Step 3: Add Your Company Information
 Enter the details used across your website and required by many MLS boards:
-
Company Name
-
Company Address
-
Company Phone Number
-
License / DRE Number (optional unless required by your MLS)
These appear in site footers, contact sections, disclaimers, and other branding elements.
Step 4: Set Your Website Title

The website title appears in browser tabs and search results. Examples:
-
Quick and Simple Homes
-
Dallas Homes for Sale
-
Coastal Orange County Real Estate
Keep it short and descriptive to help visitors quickly identify your brand or market.
Step 5: Select Your Featured Areas
Featured areas create automatic location pages across your website and appear in key navigation areas.
 To add areas:
- Type a city or neighborhood name
- Select the correct match from the drop-down suggestions
- Repeat until you have at least six (you can add as many as you want)
Tips:
- Choose areas where you actively work or want more visibility
- Carefully select the drop-down result to avoid duplicate or incorrect regions
- These pages greatly influence SEO and local search traffic
Step 6: Upload Your Logo
![]() Your logo appears at the top of your website and helps establish your brand identity.
Your logo appears at the top of your website and helps establish your brand identity.
Recommended size: 400 × 86 pixels
- Wide, text-based logos work best
- Avoid tall or square logos — they may appear small or compressed
- PNG is recommended; JPEG works as well
You can upload a new logo later in the website editor if needed.
Step 7: Choose Your Header Image

The header image is the main photo visitors see when landing on your homepage.
You can:
- Choose from Real Geeks’ built-in image library
- Upload your own high-quality, market-relevant image
Pick something welcoming, professional, and representative of your area.
Step 8: Create Your Bio Pages

Fill out the contact information that displays across your website.
You can add:
- Your name
- Phone number
- Email address
- Bio
- Testimonials
If working with a team:
- Add each agent’s name, phone, and email
- Include bios or testimonials (optional)
The system will automatically create agent profile pages for each team member added.
Need Help?
- Call us at 844-311-4969 (Mon–Fri, 8 AM–8 PM CST)
- Email support@realgeeks.com
- Visit learn.realgeeks.com for free video courses
- Join the Real Geeks Mastermind on Facebook for peer insights